2. Reception Center & Habitat Builder
Explore the Reception Center, scan the Habitat Builder, and build your first base.
Early Preparation & Core Systems
After the tutorial, you can freely explore. Three key systems:
- NoA System — Check new clues (check after every exploration)
- Fabricator — Craft items
- Storage — Inventory (limited space; build base lockers later)
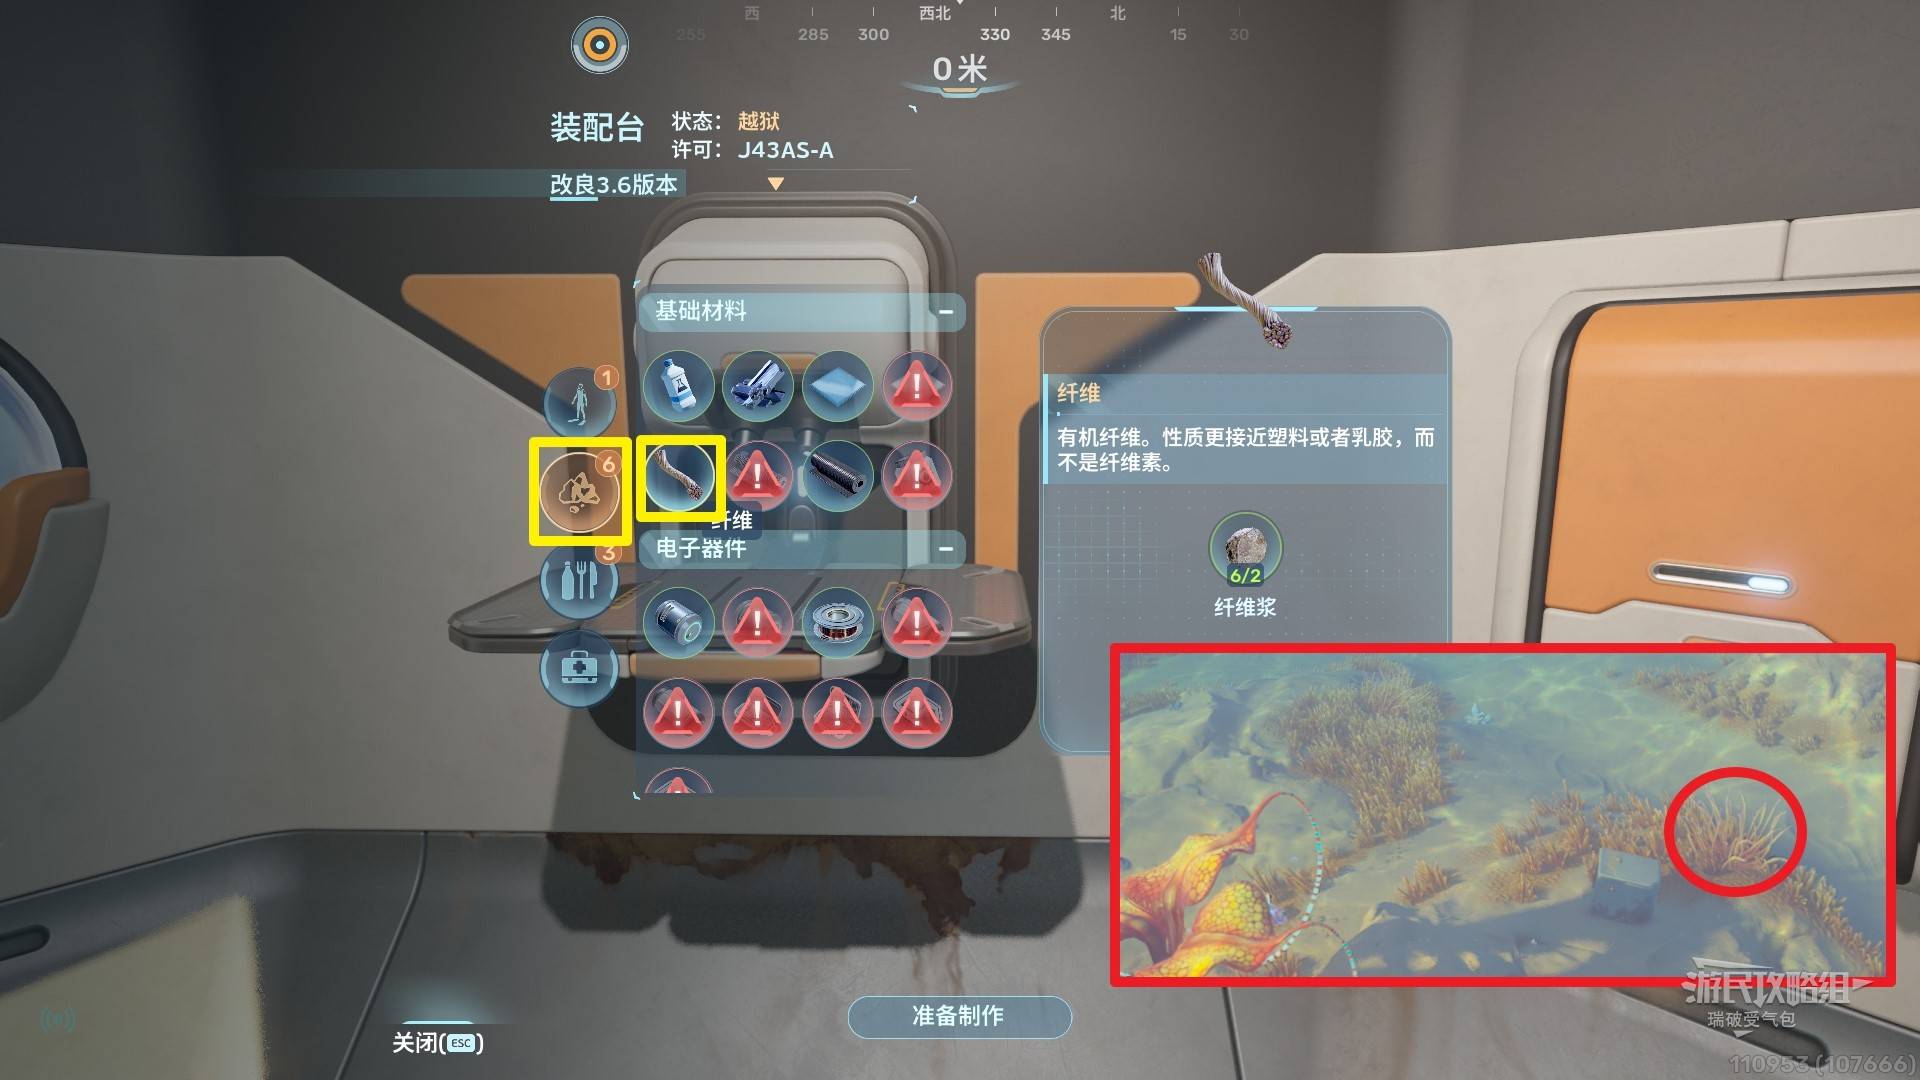
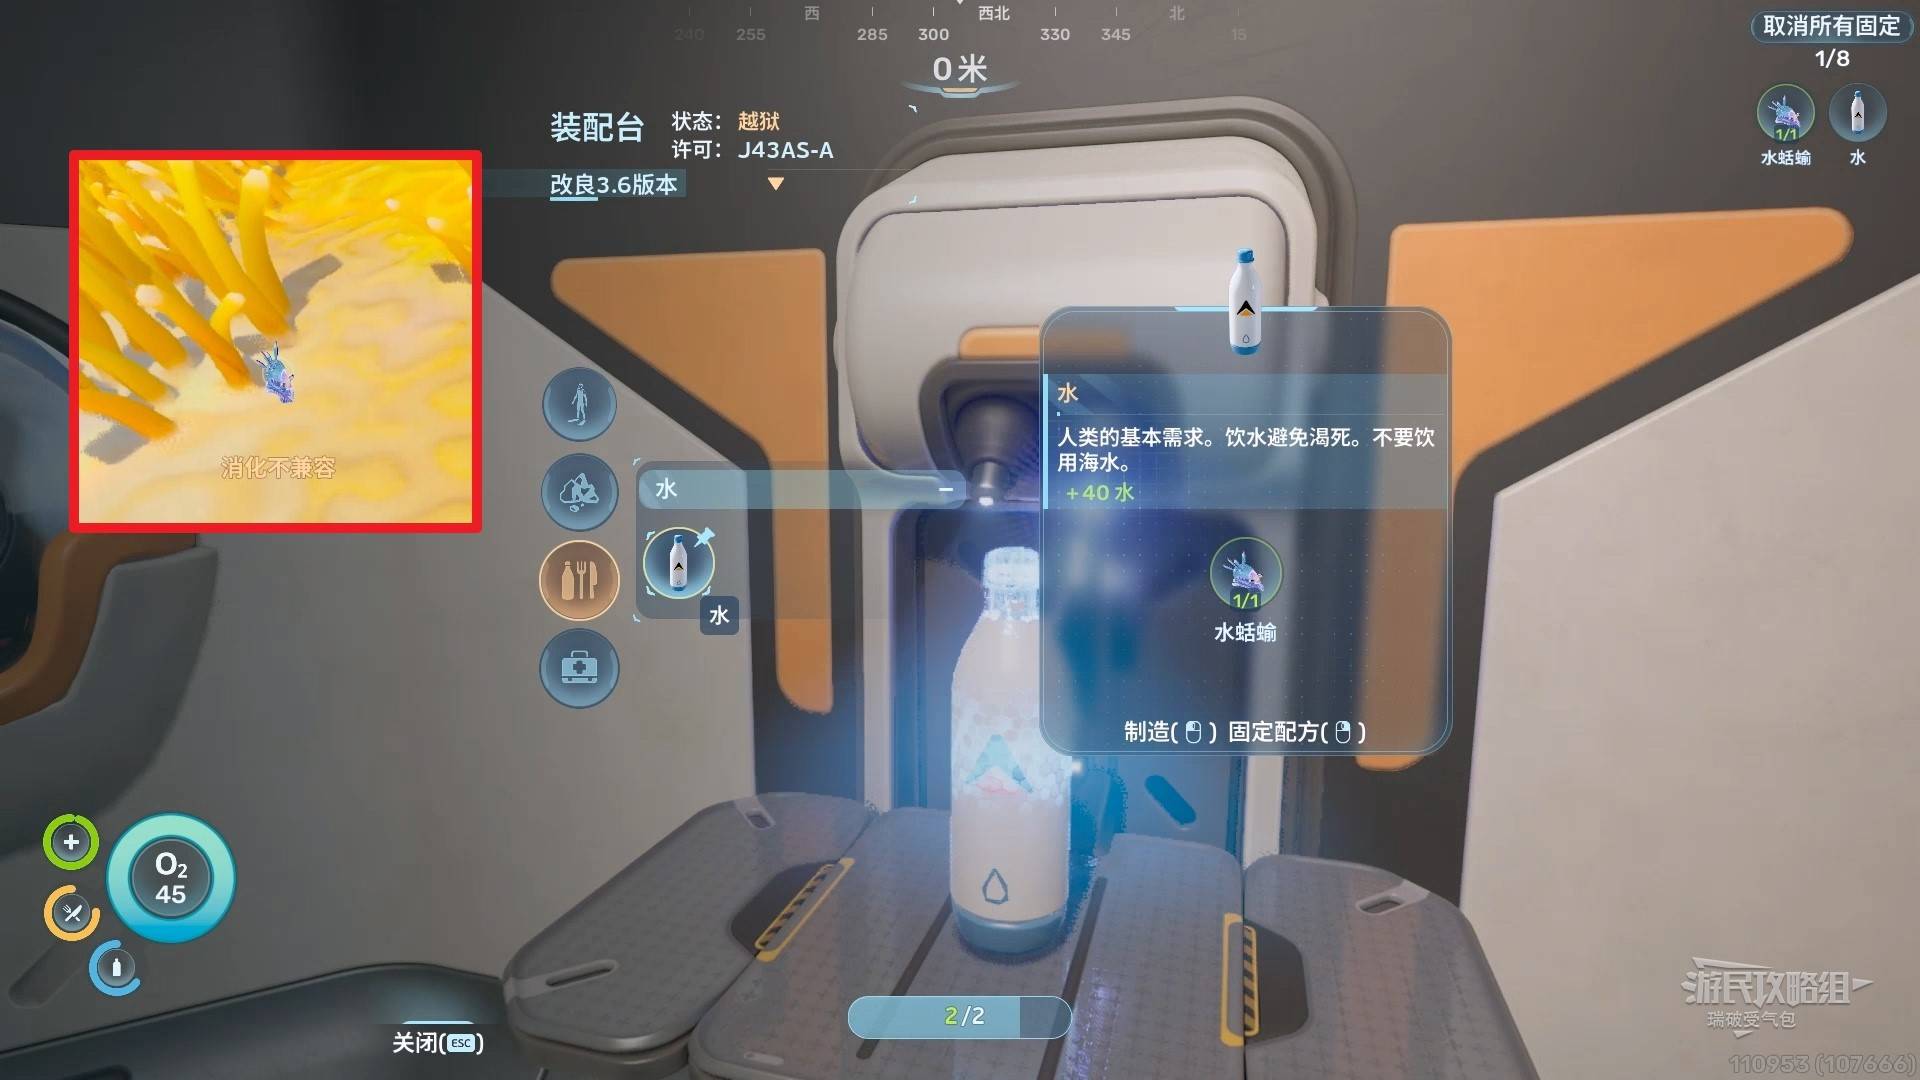
Use Nutrient Blocks from storage for early food. Find Sea Slugs near the lifepod seabed — use 1 at the Fabricator to make water (+40 water).
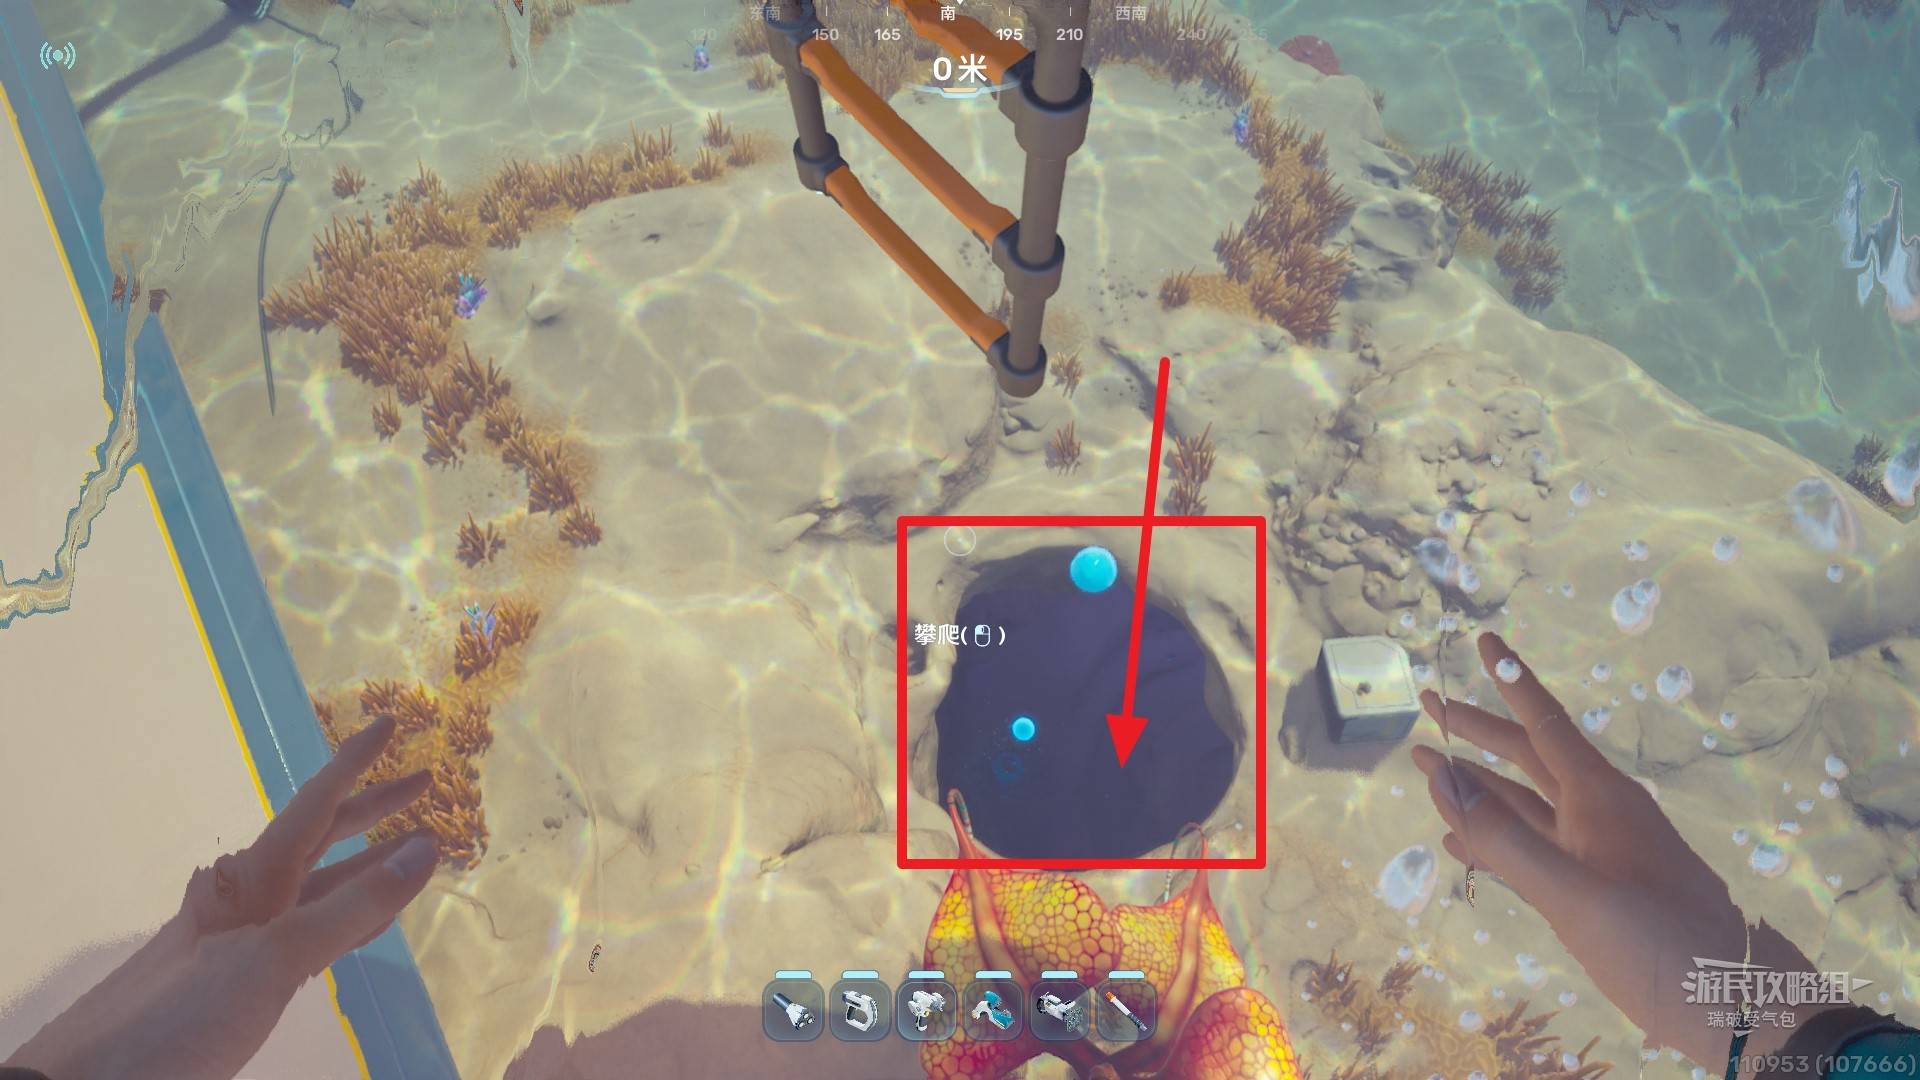
Cave Below Lifepod
Go to the bottom of the cave directly below the lifepod. Watch out for the orange electric plant tentacles at the entrance.
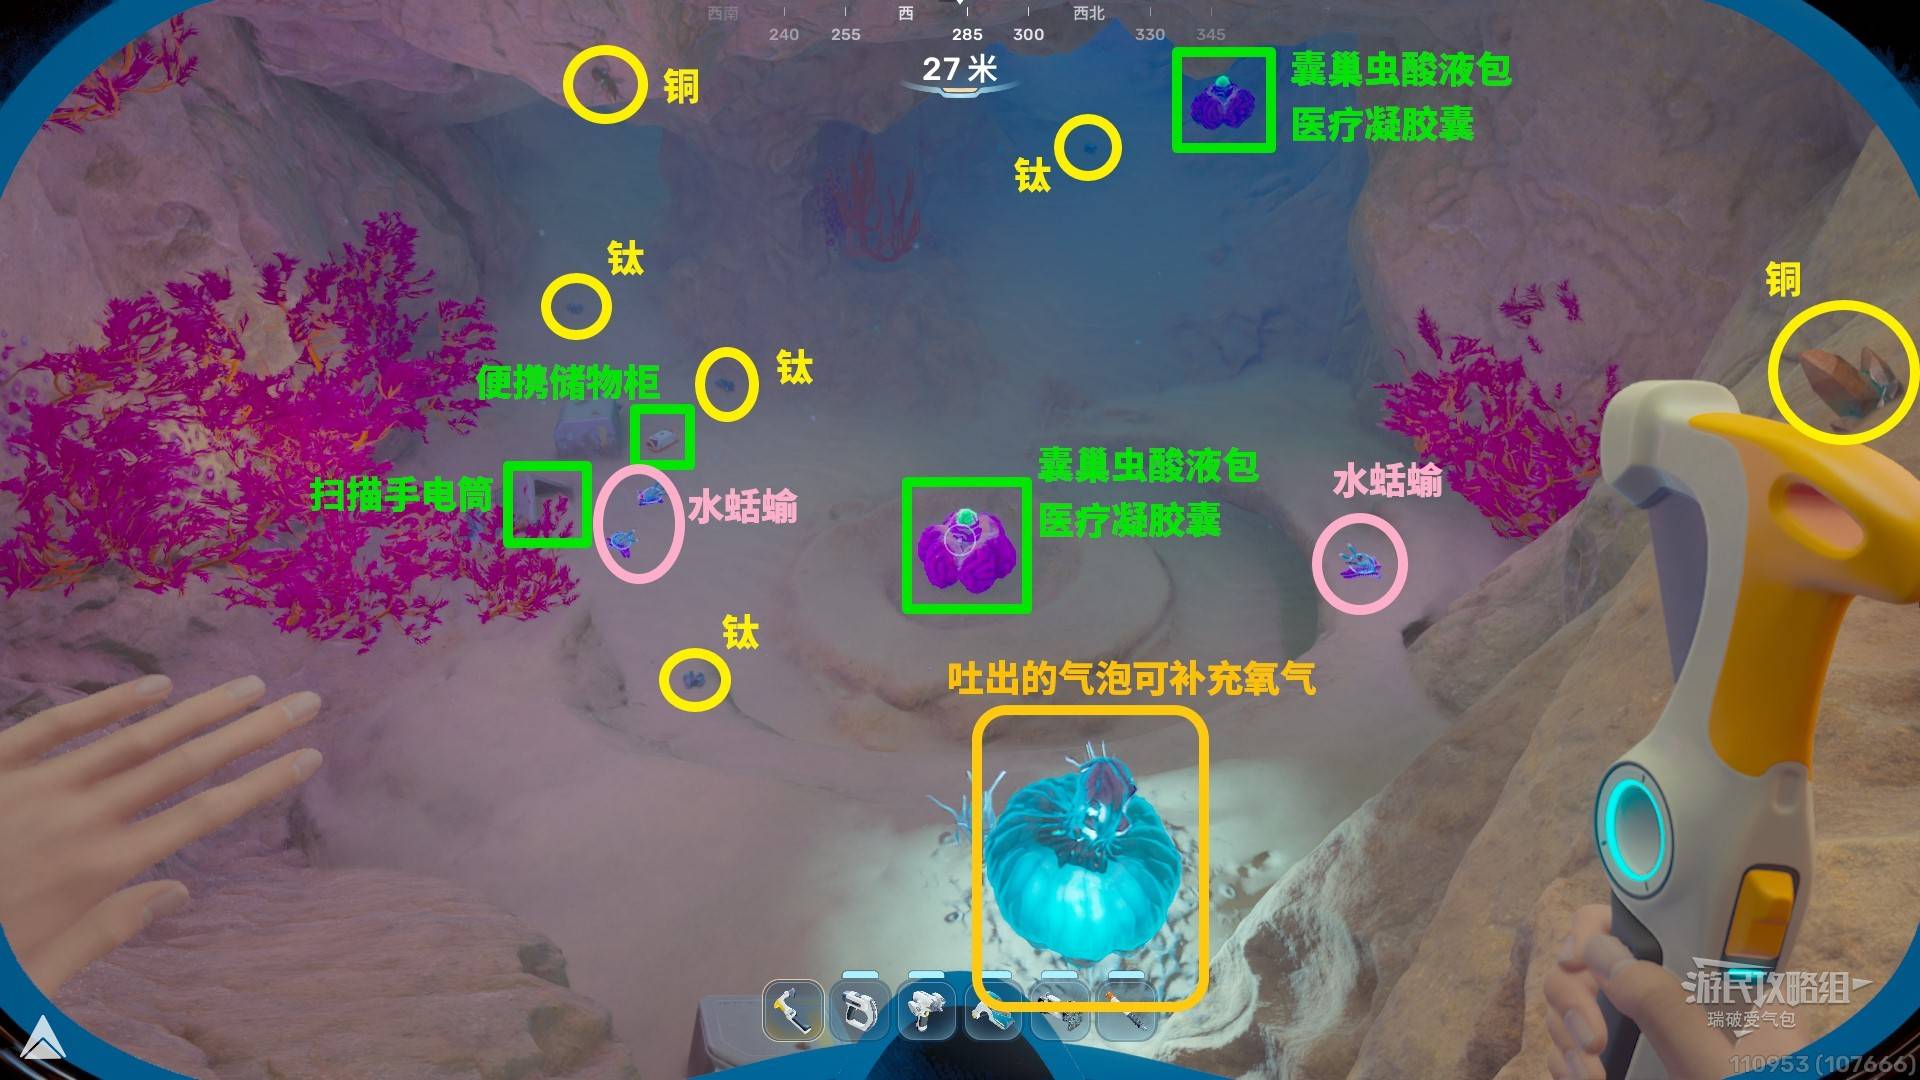
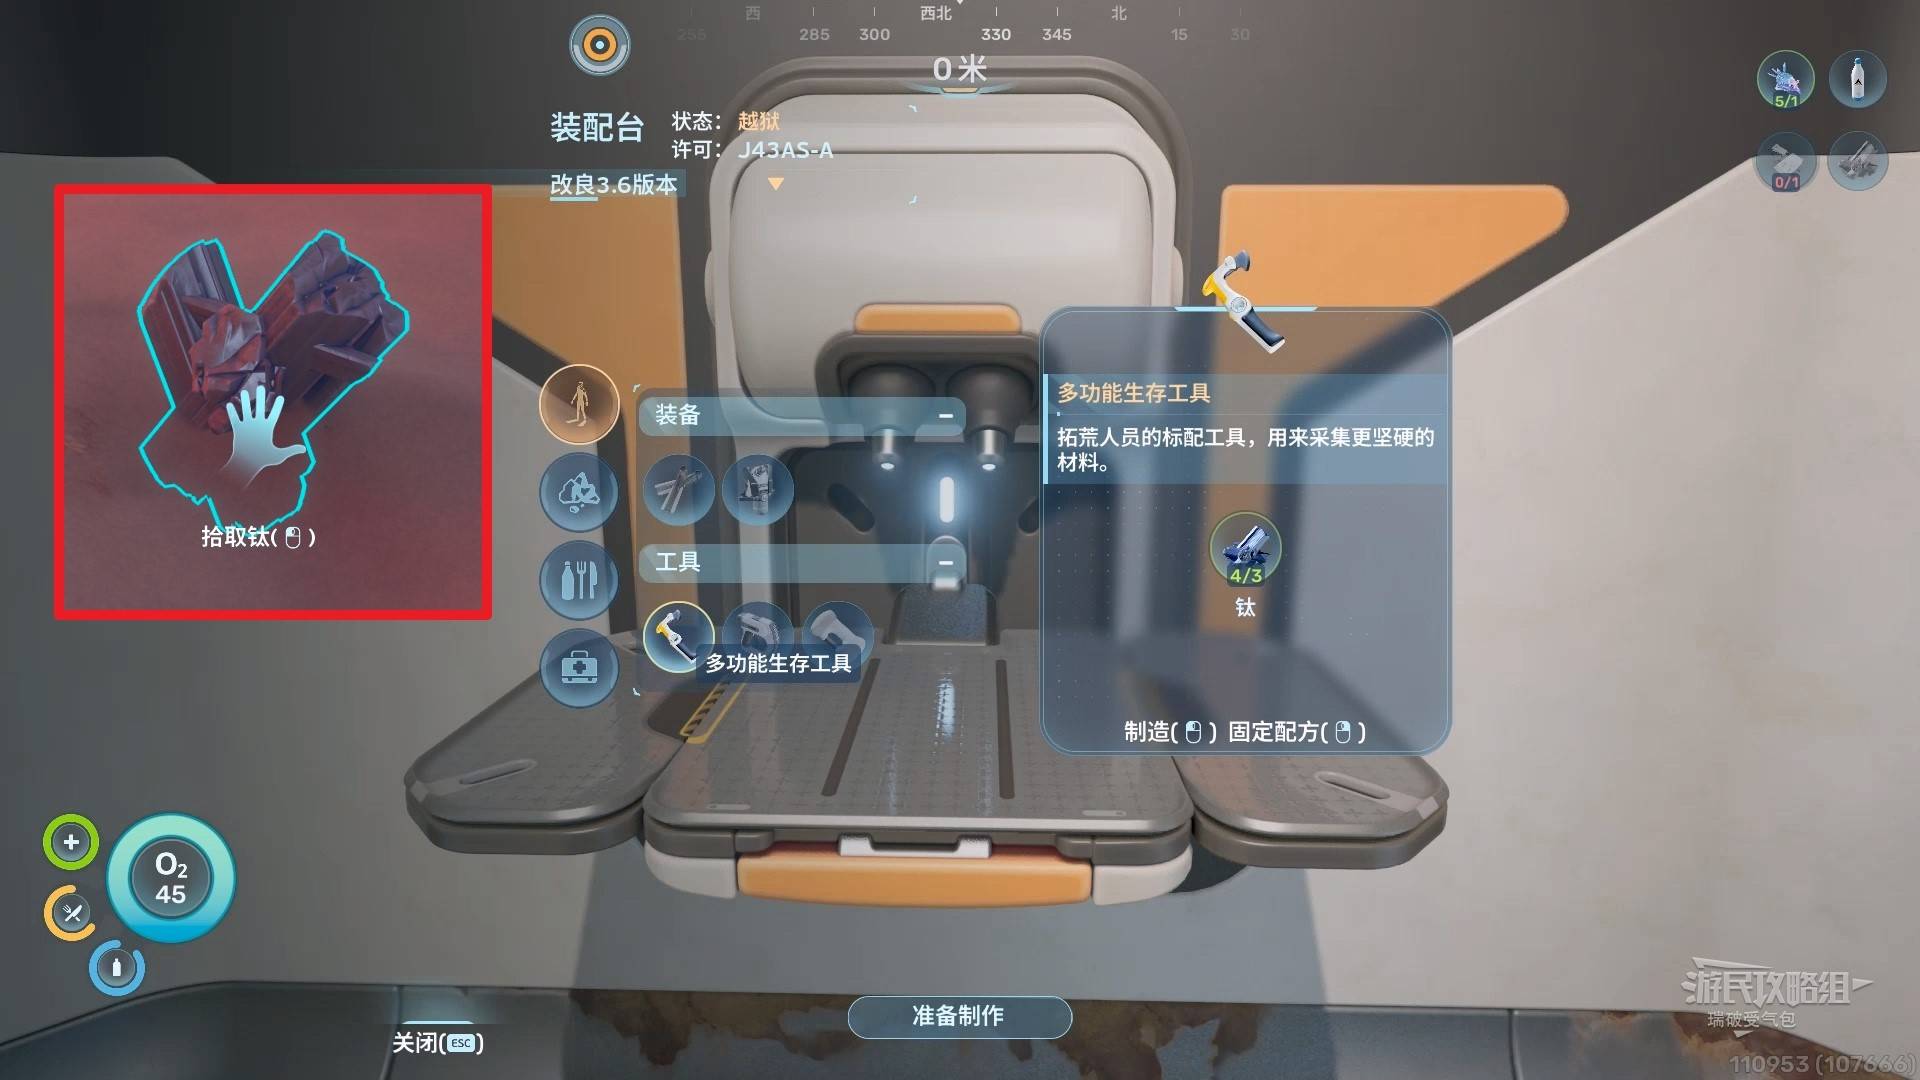
Collect Titanium (3 pieces) to craft the Multi-Purpose Survival Tool. Titanium is abundant from seabed metal scraps.
Stand above blue bubble creatures to breathe their oxygen bubbles.
Use the Survival Tool to:
- Cut Nestling Acid Sacks (3 per creature, needed for batteries)
- Collect Medical Gel Capsules on top (pick quickly to avoid poison — needed for medkits)
Pick up the Portable Locker nearby. In a nearby box there’s a damaged Flashlight — return with a Scanner to get Flashlight 1/3 blueprint.
Collect Copper from cave walls (often on ceilings and overhangs).
Large metal chunks need the Survival Tool to harvest.
Craft a Standard Battery with gathered materials.
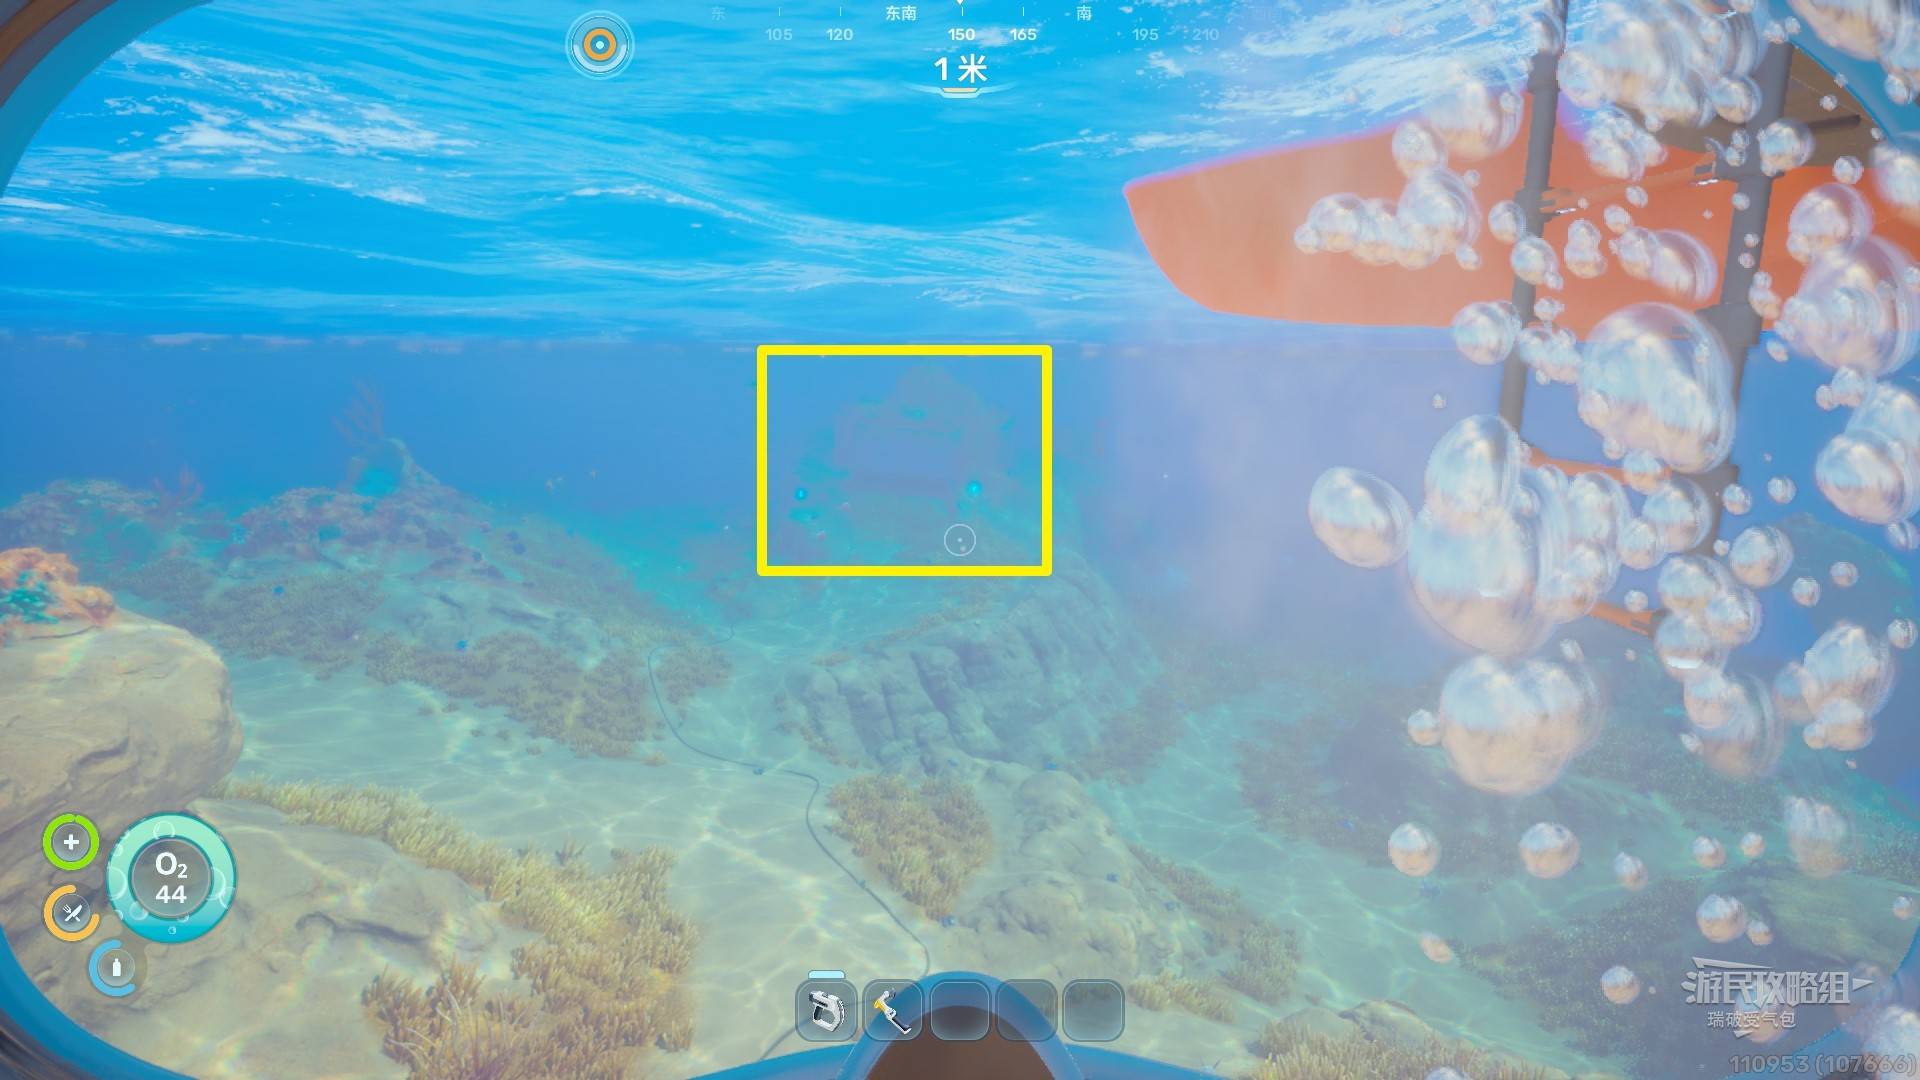
Coral Ball & Quartz
At NE 70 from the lifepod, enter a coral ball from below. Collect Quartz (appears on and inside coral surfaces, needed for glass items).

Craft the Scanner
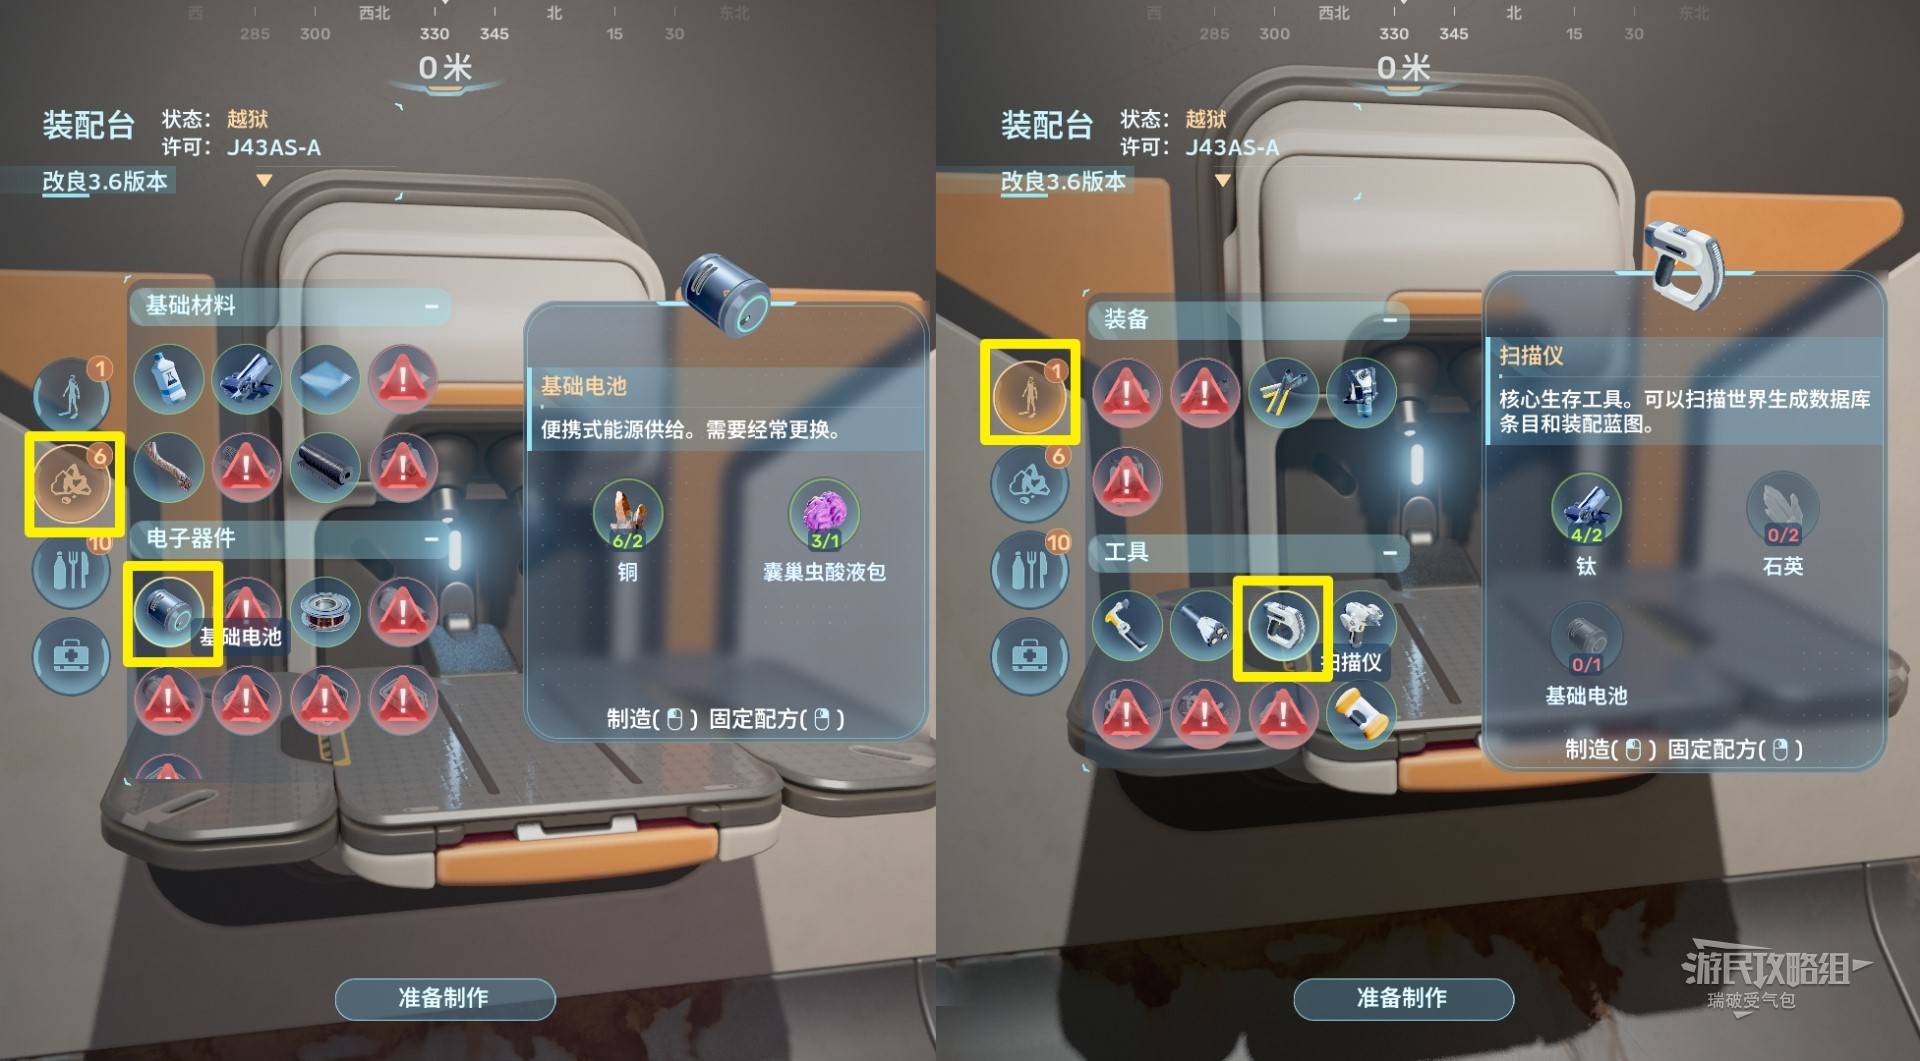
Gather Copper x2, Nestling Acid Sack x2, Titanium x2, Quartz x4. Craft Basic Battery → Scanner at the Fabricator, then another Basic Battery.
The Scanner unlocks new blueprints by scanning creatures and technology. Always carry it while exploring.
Scanner batteries don’t recharge (shown above the quick bar). Replace with new batteries when depleted. Unlock the Battery Terminal later to recharge.
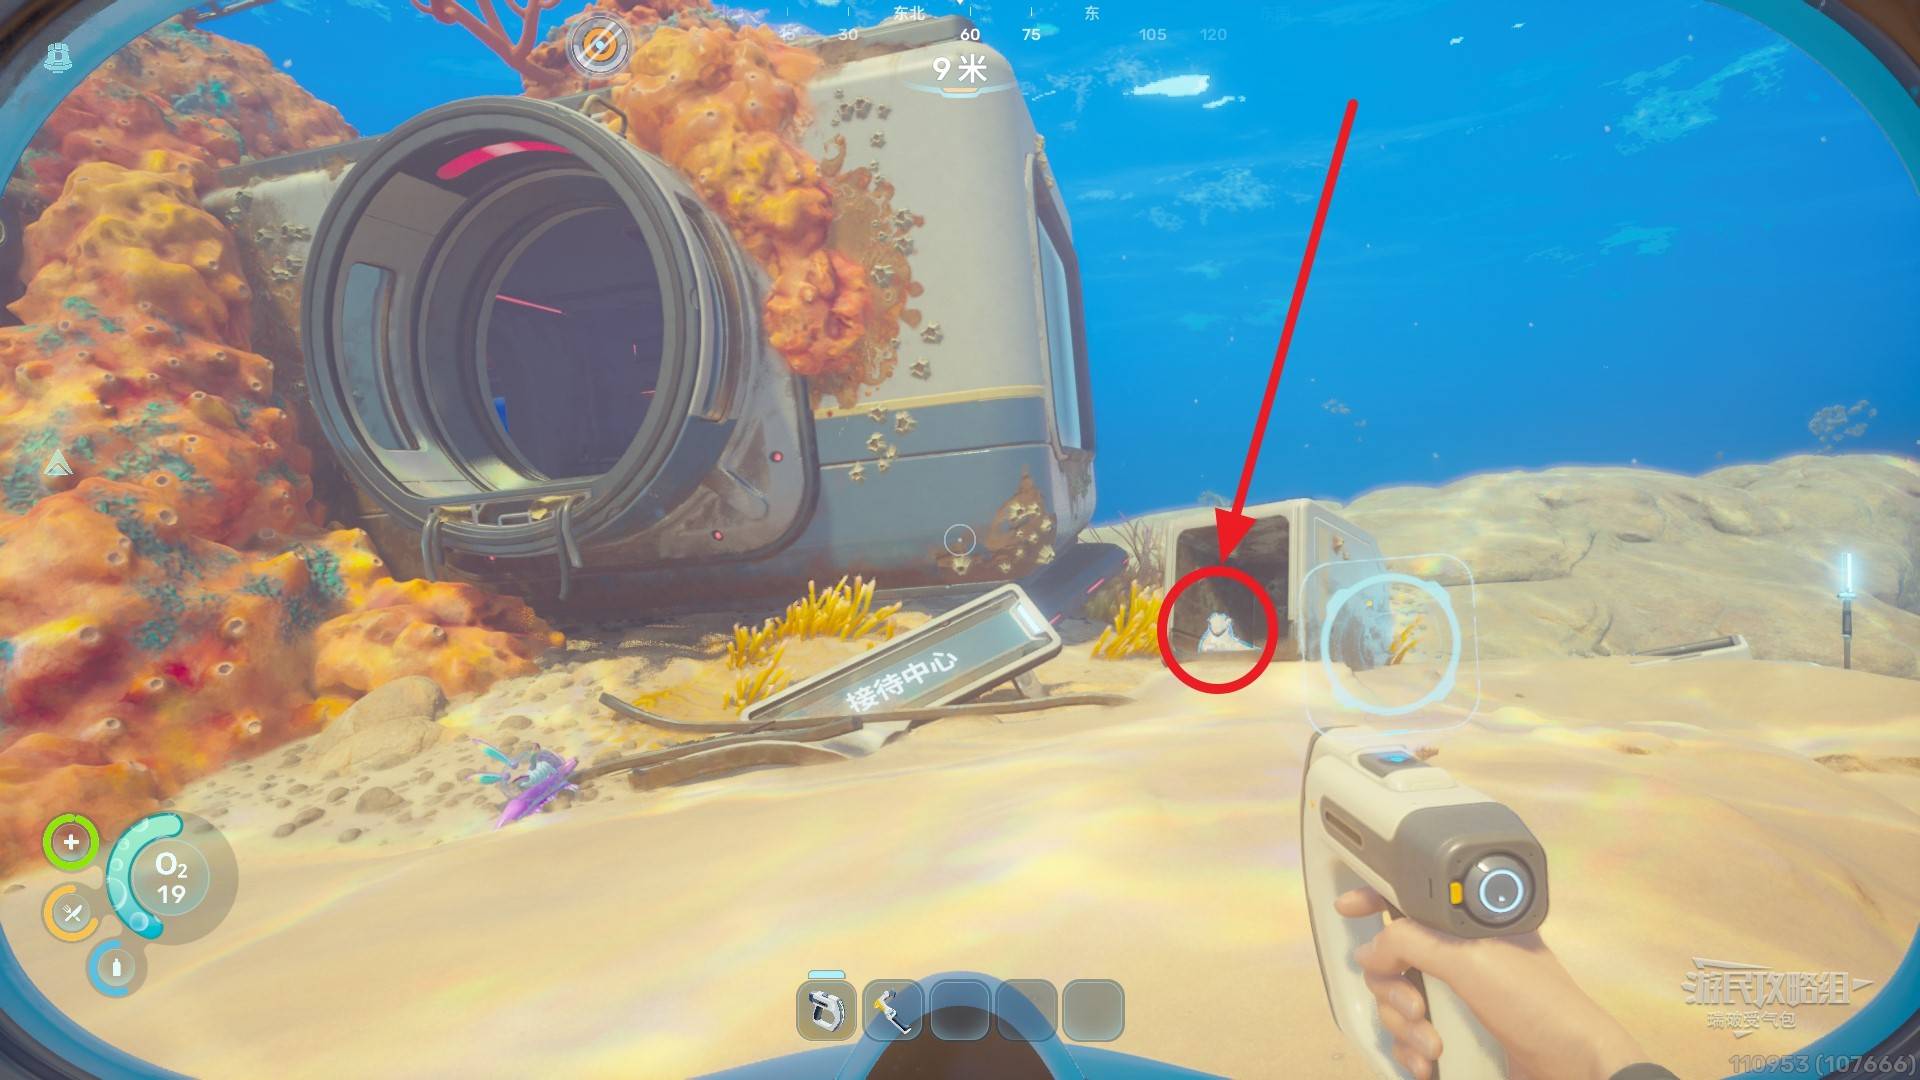
Reception Center
Swim SE 150 for about 70m from the lifepod to find the Reception Center (building with blue lights at its base).
No oxygen bubbles here — swim from the surface and dive down. Bring a Portable Locker for supplies.
Needed materials: Copper x4, Nestling Acid Sack x1, Quartz x2, Titanium x2.
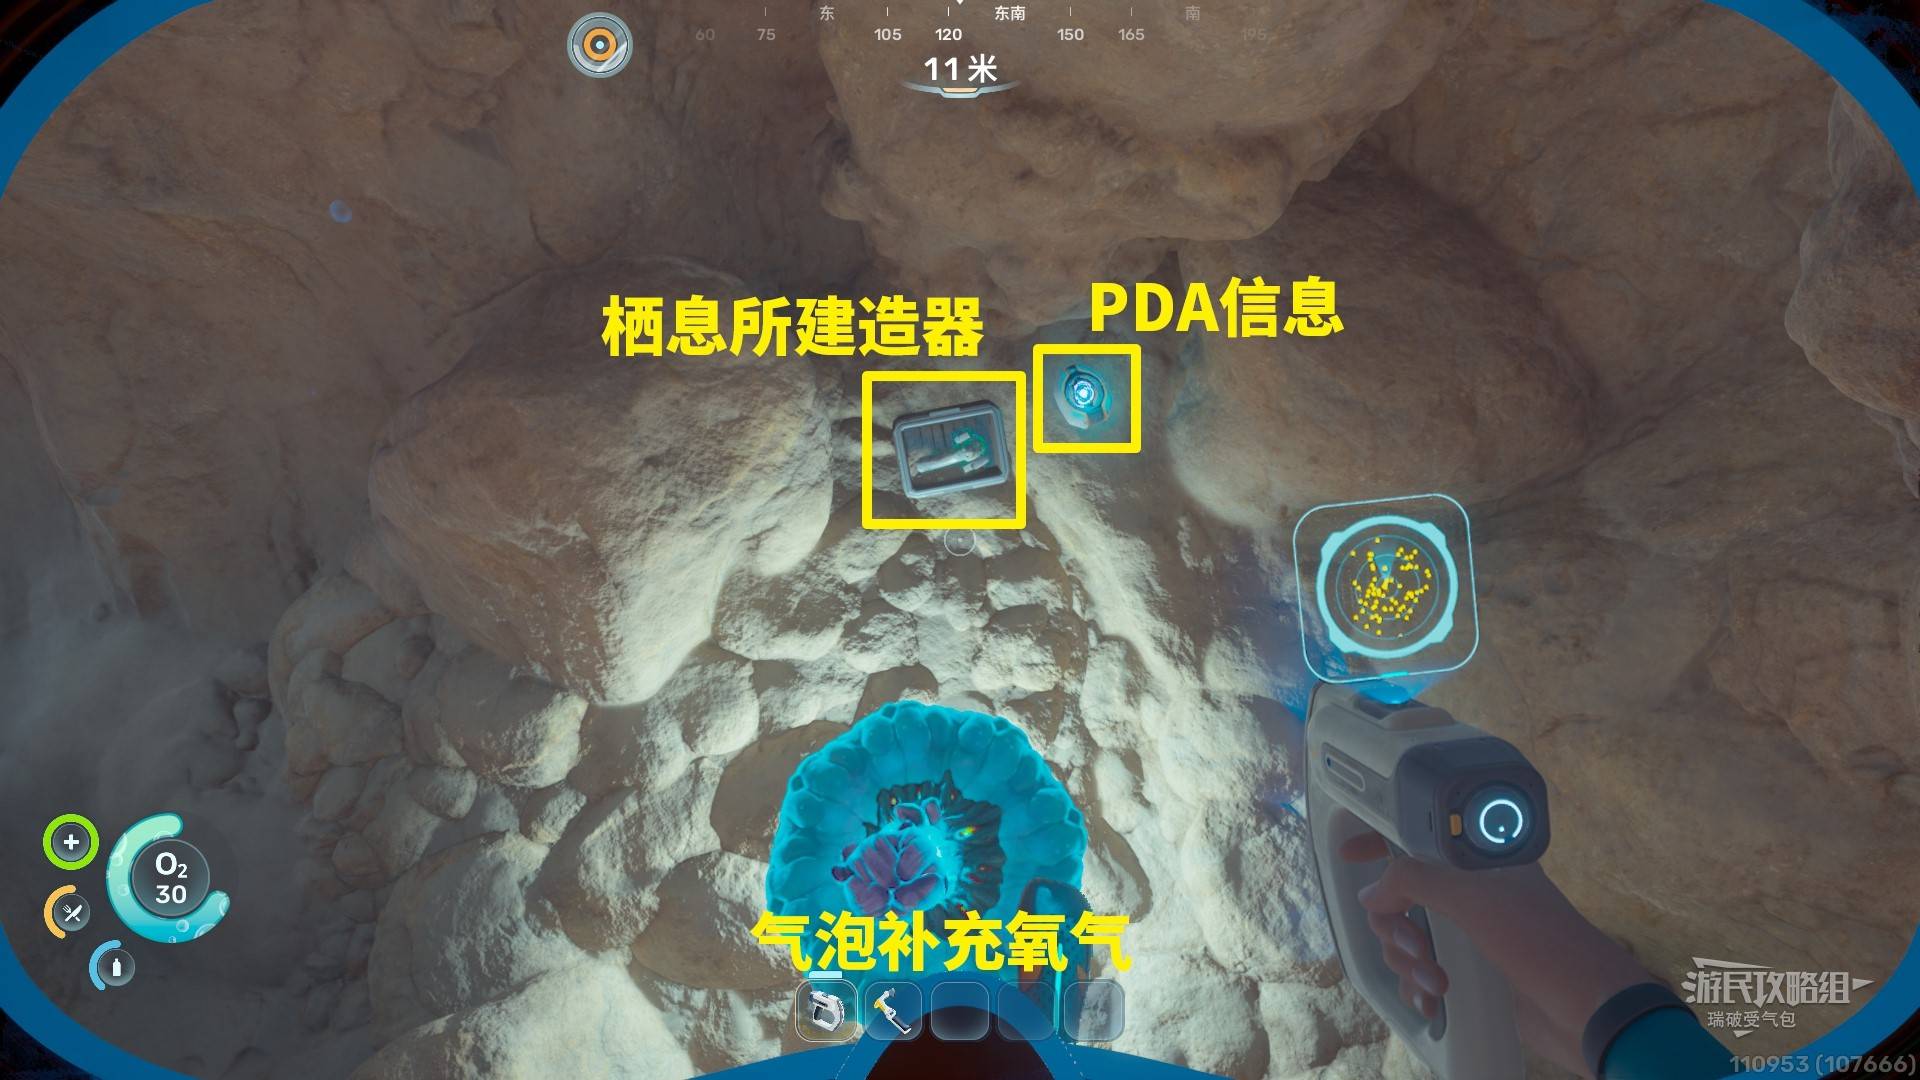
Scan the Habitat Builder 1/2 in the box by the entrance.
Inside the Reception Center
More blueprints inside the entrance room (can return later). Remember the Bio Lab location for later equipment modules.
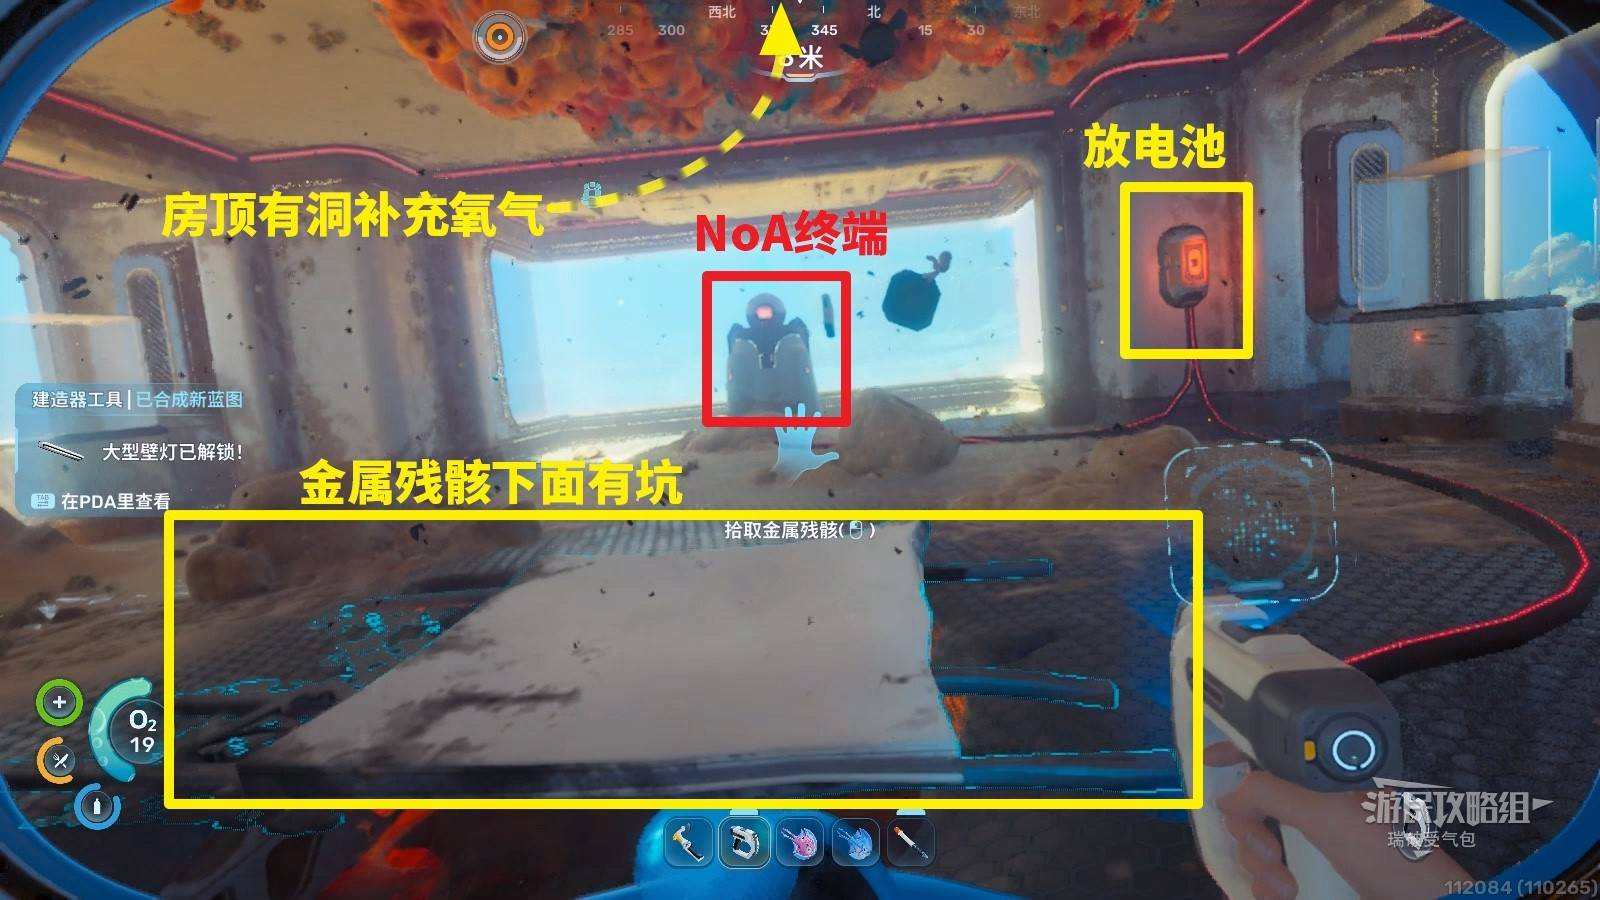
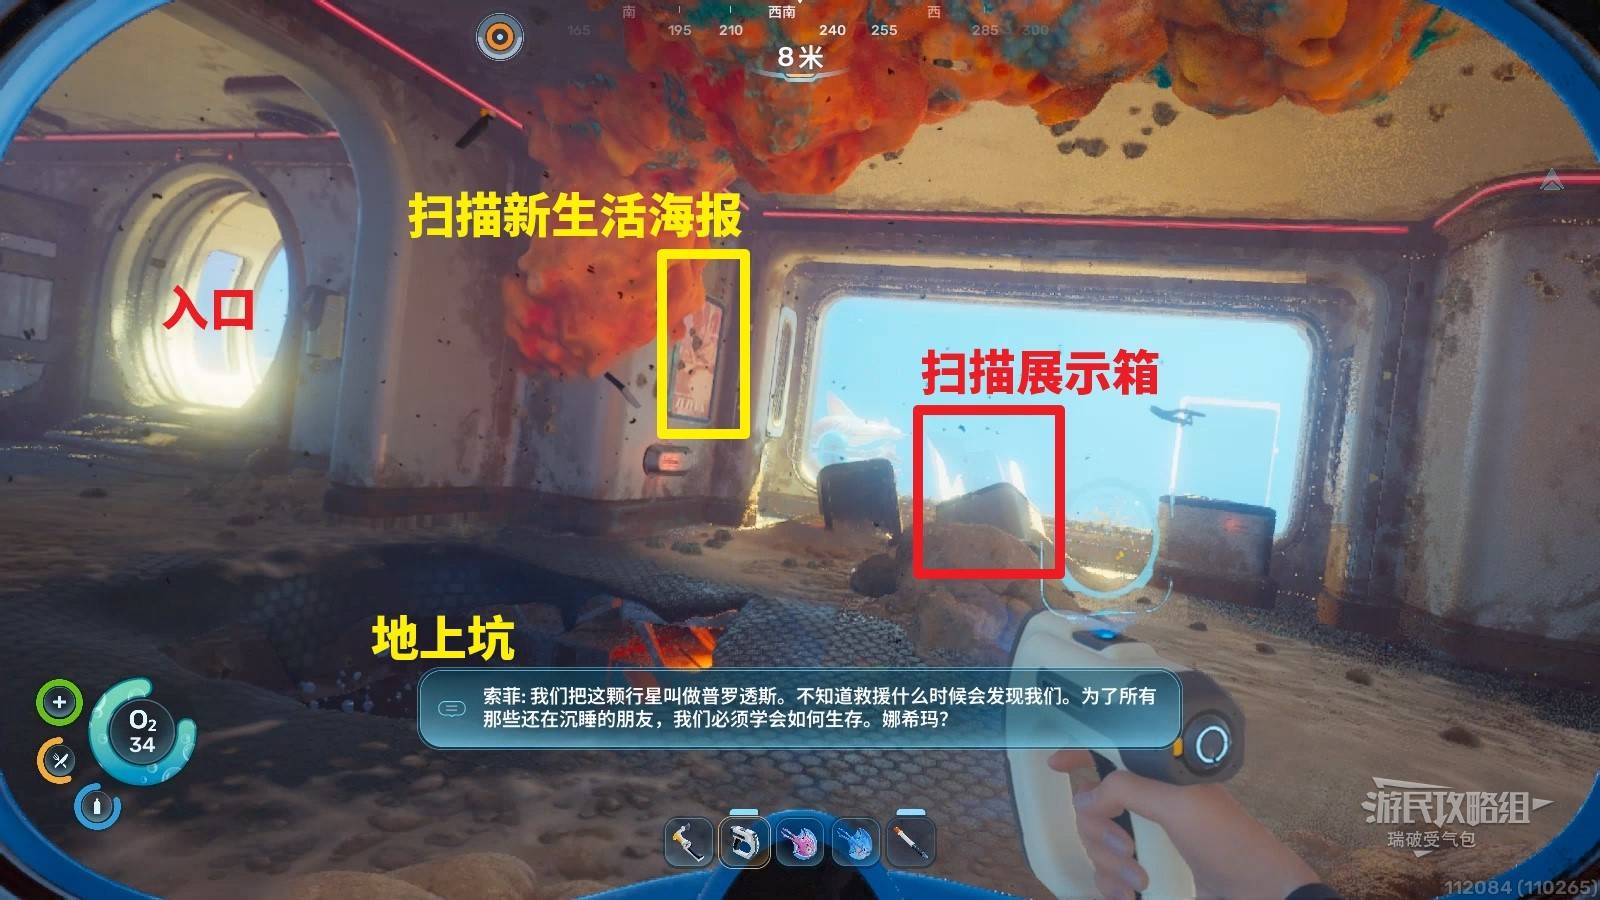
Go to the left room. Pick up metal debris (scan first) to reveal a pit. Don’t enter yet — place a Basic Battery in the wall slot, interact with NoA system, view all info to get the Main Habitat location. The roof hole lets you surface for oxygen.
Scan the New Life Poster and the fallen display case on the left side.
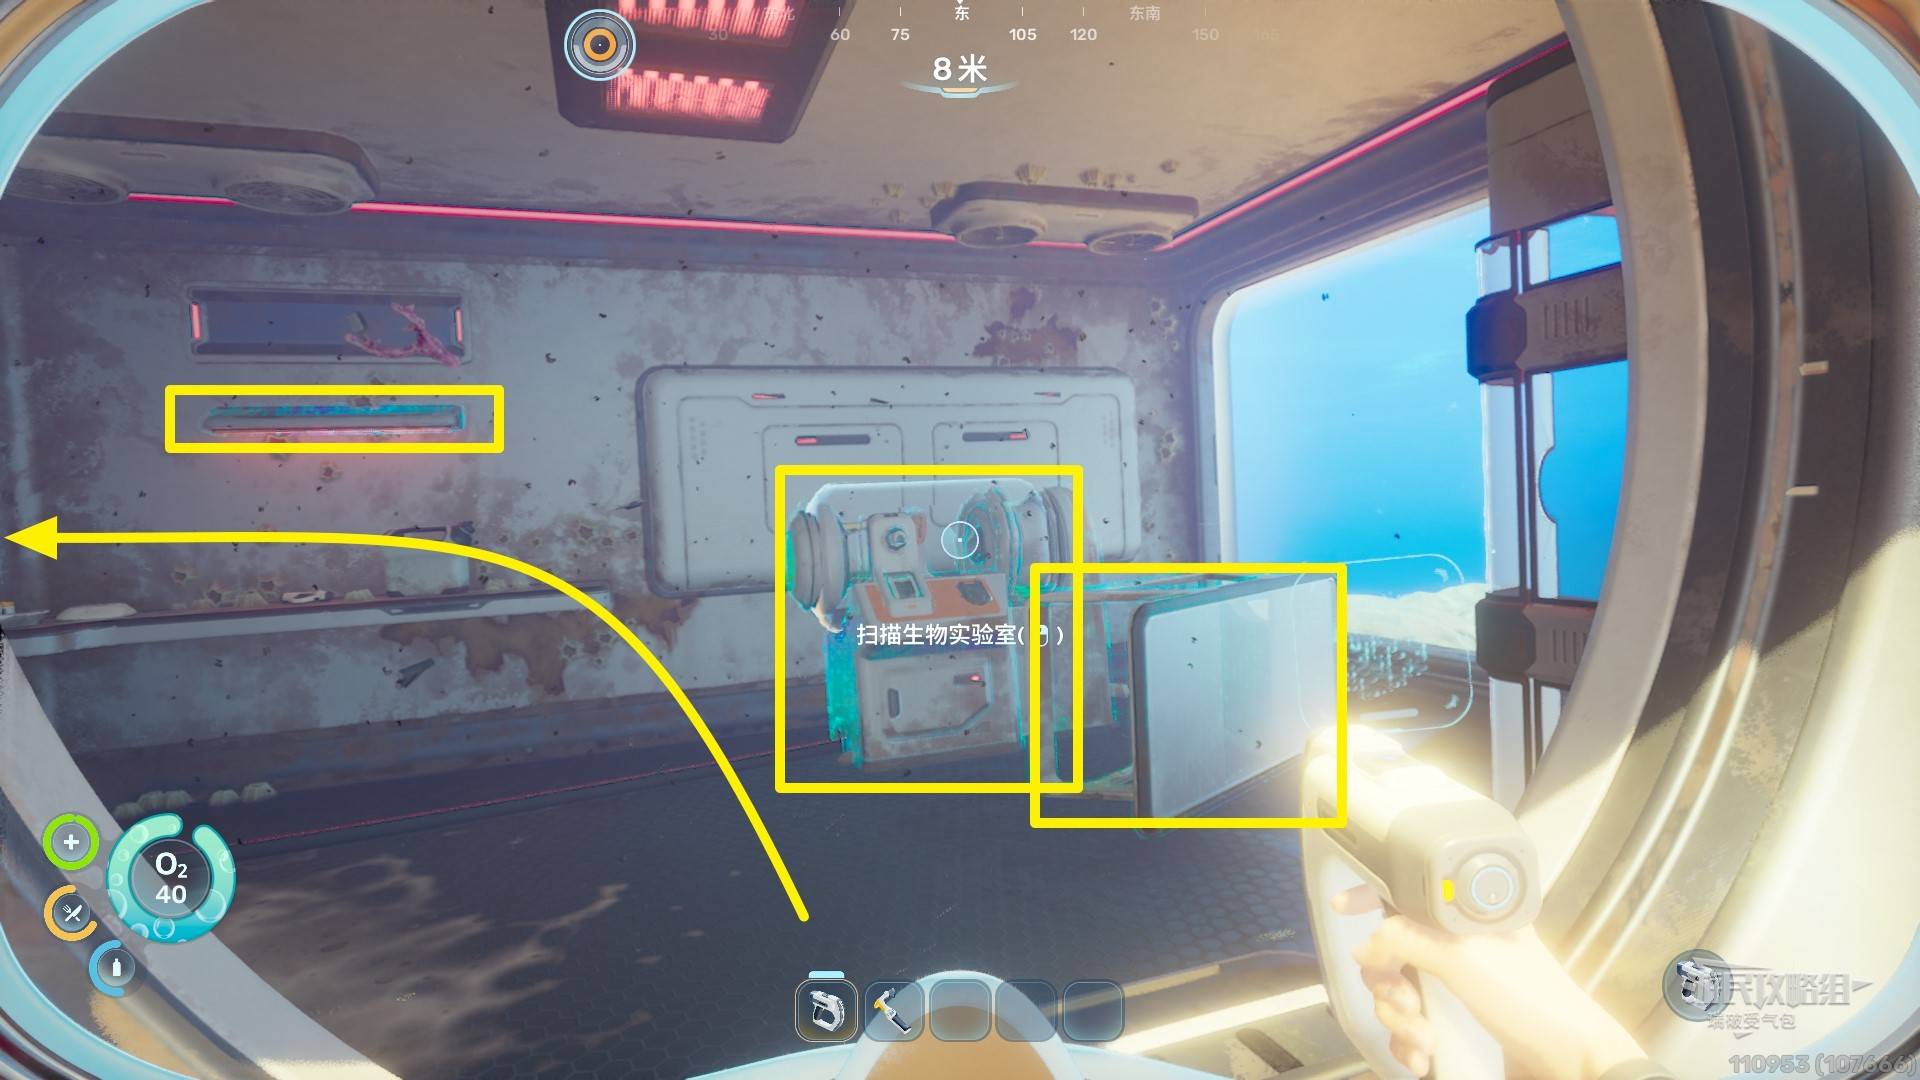
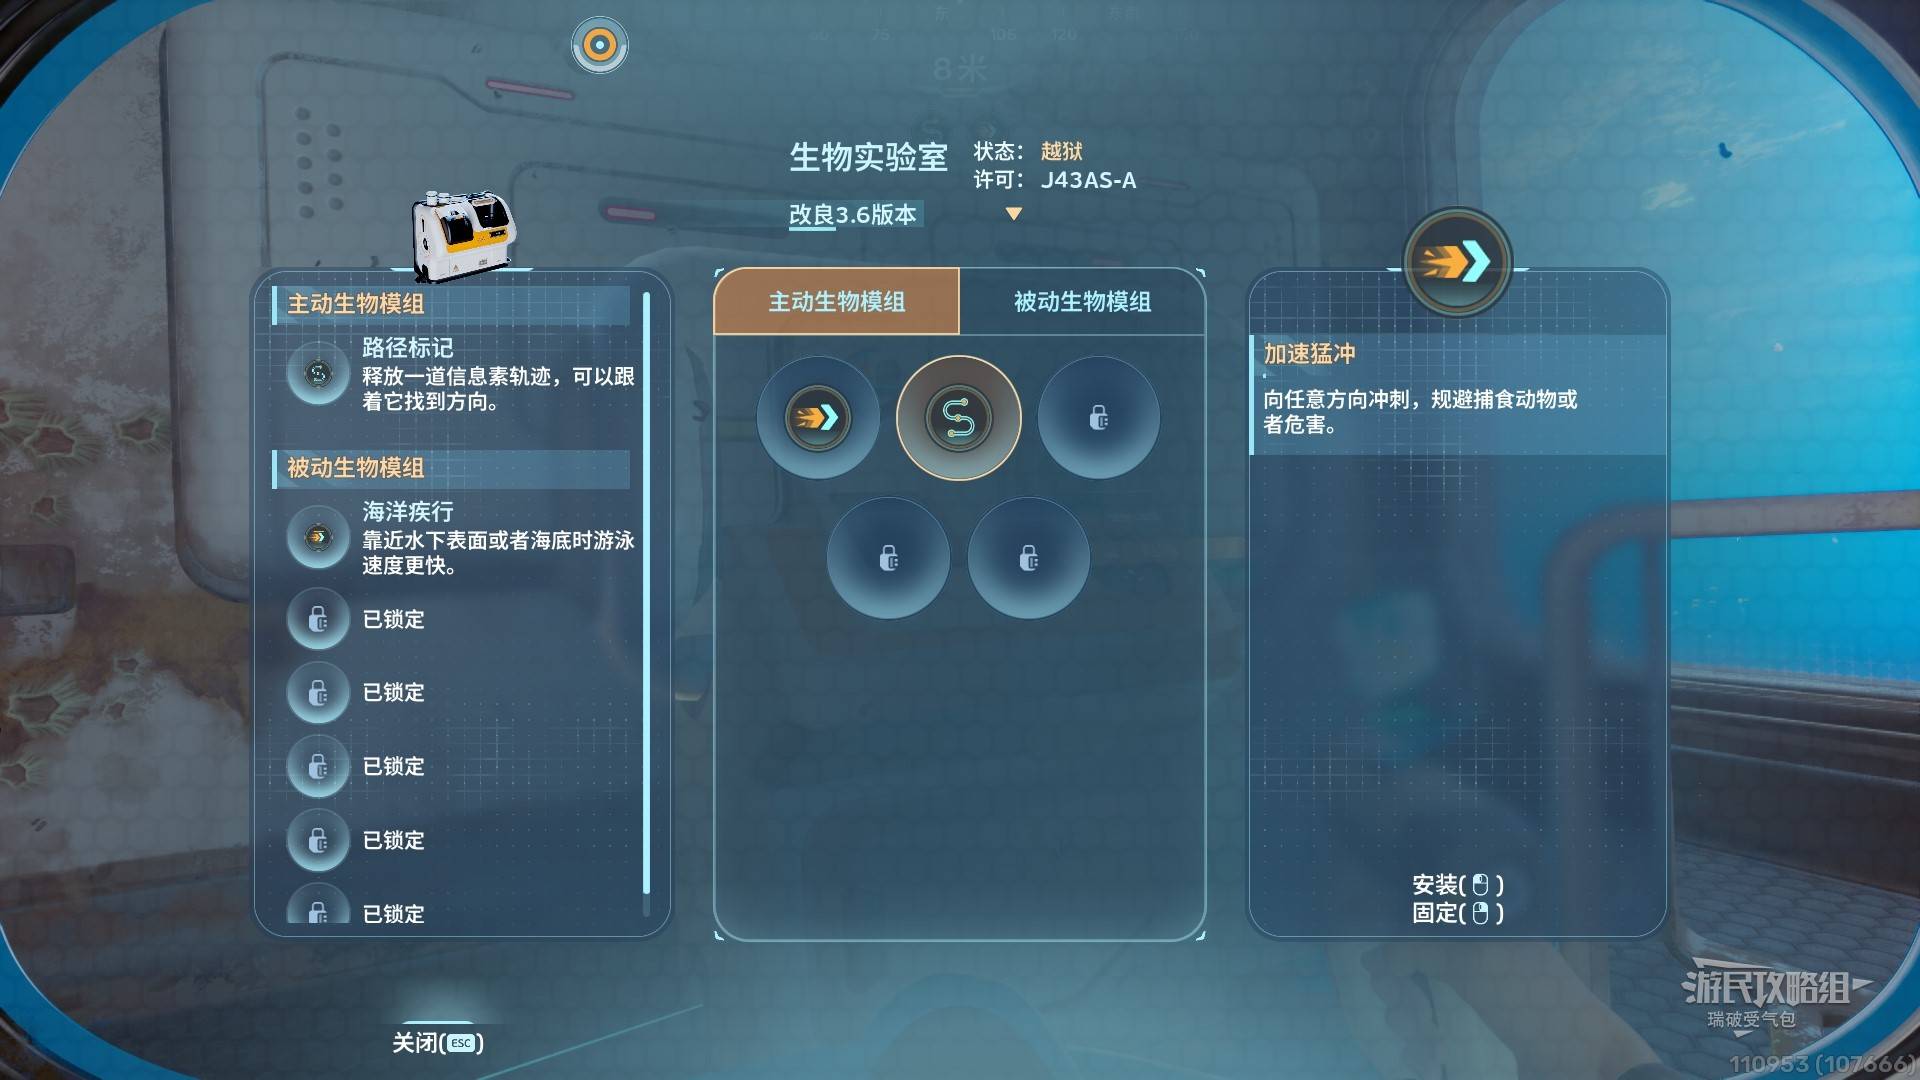
Bio Lab & Modules
Return to the Bio Lab by the entrance. Equip active and passive bio modules here. Return anytime to swap.
Enter the pit and scan Habitat Builder 2/2. Download nearby data.
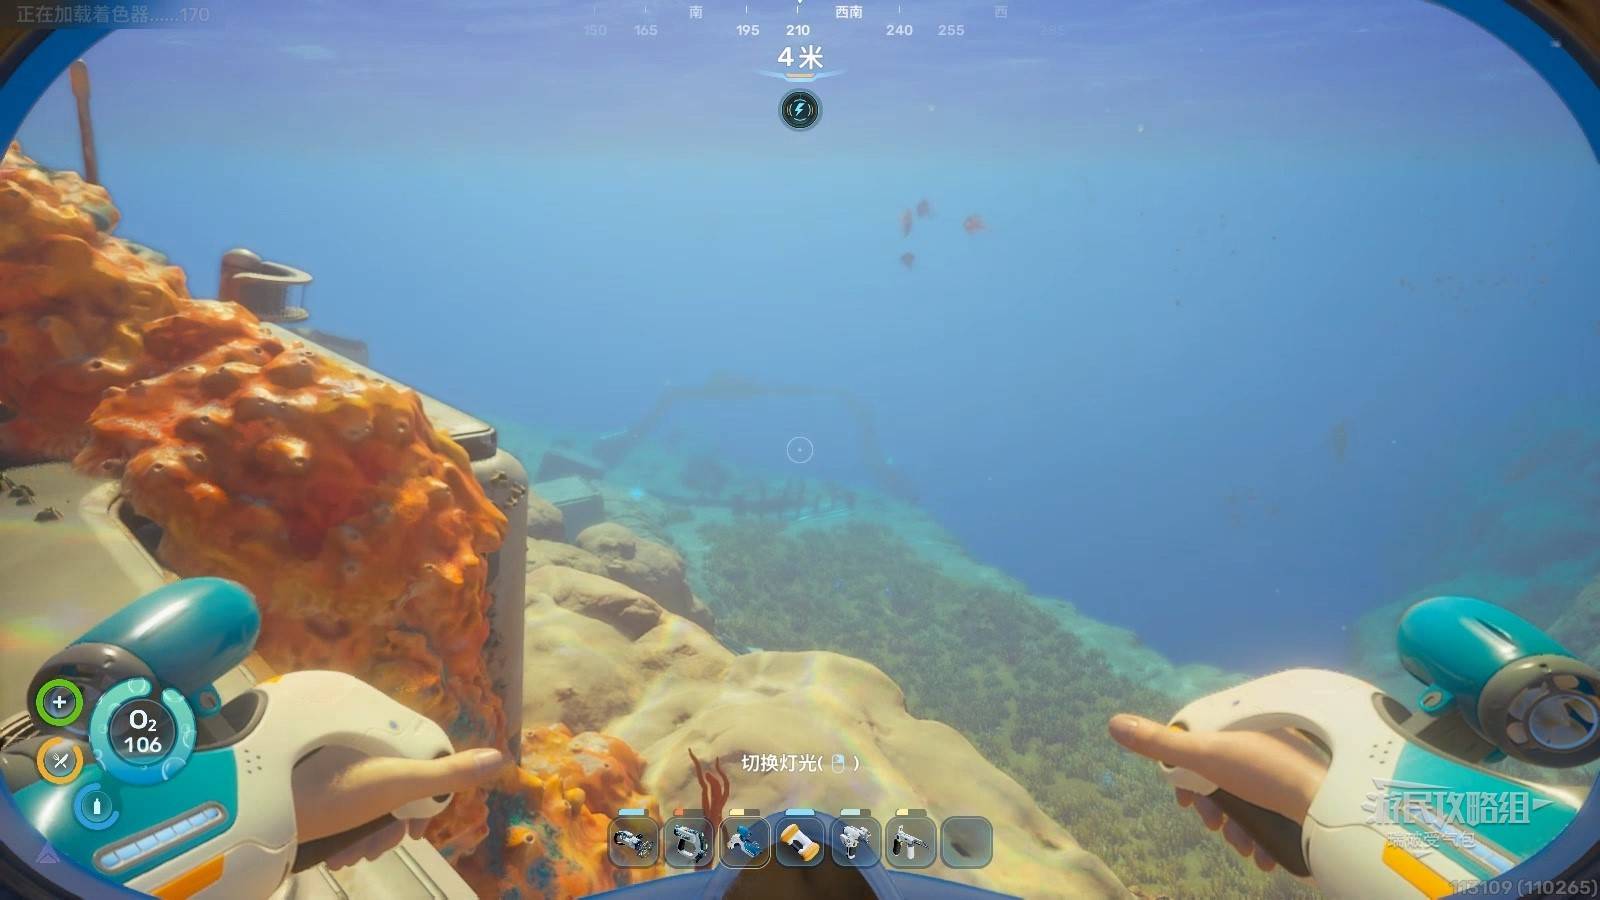
Surface Wreckage & Tadpole
Refill oxygen, look S 210 from the Reception Center entrance for wreckage. Scan tools (Beacon, Dive Elevator) and collect supplies.
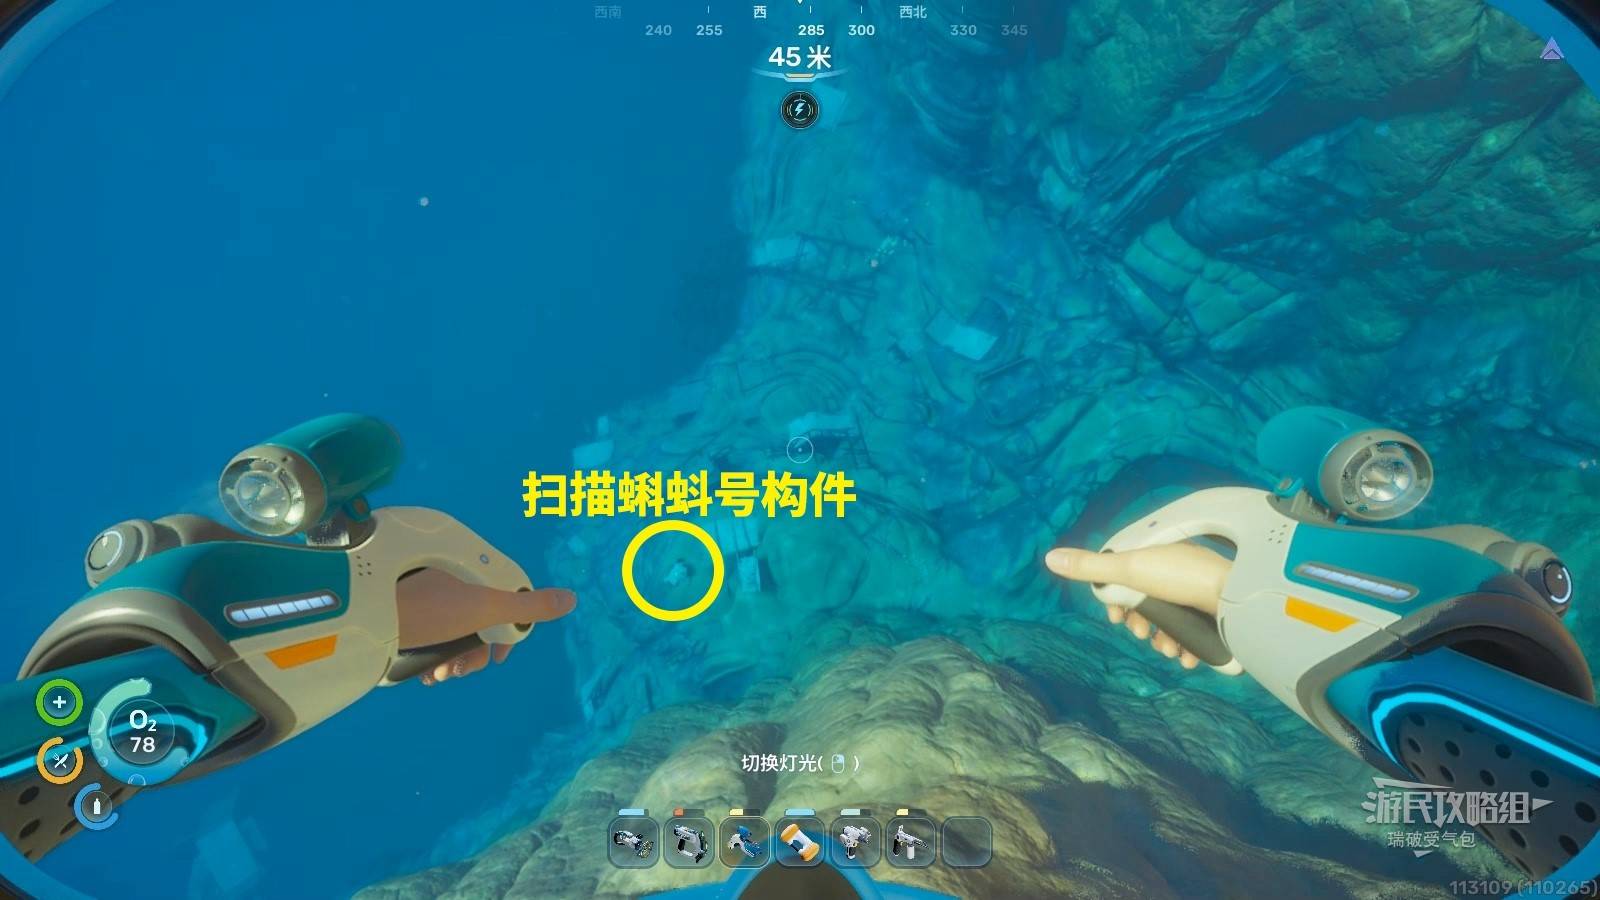
Follow the metal wreckage downward to the lower platform.
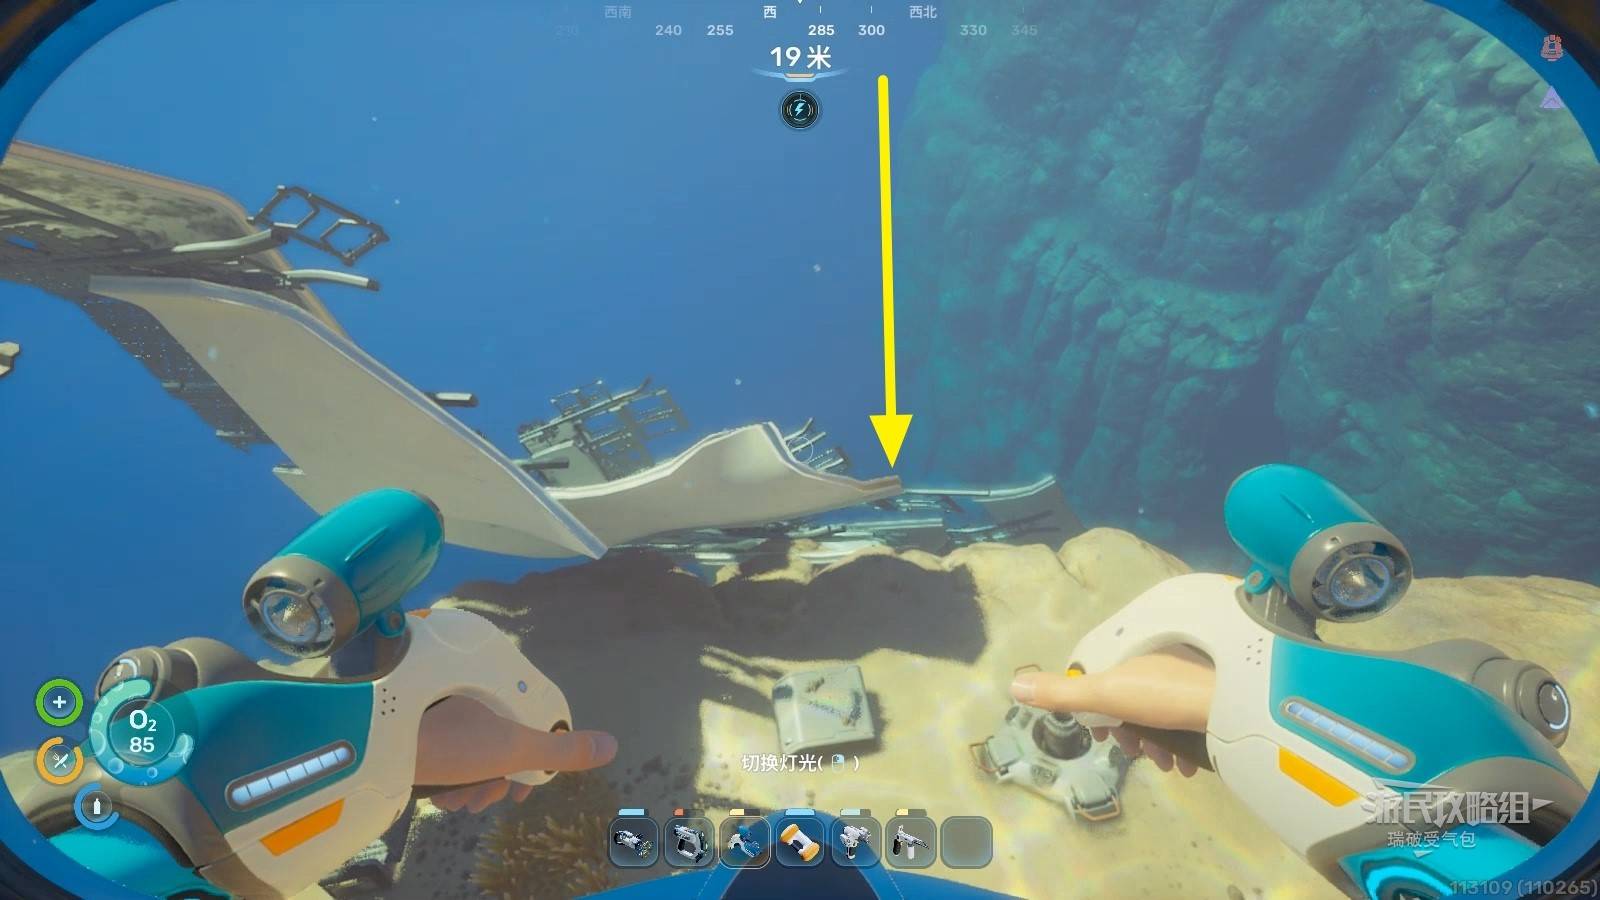
Scan Tadpole Module 1/3 on the lower platform.
Craft the Habitat Builder & Build a Base
Back at lifepod, craft at the Fabricator: Glass + Basic Battery + Copper Wire → Habitat Builder.
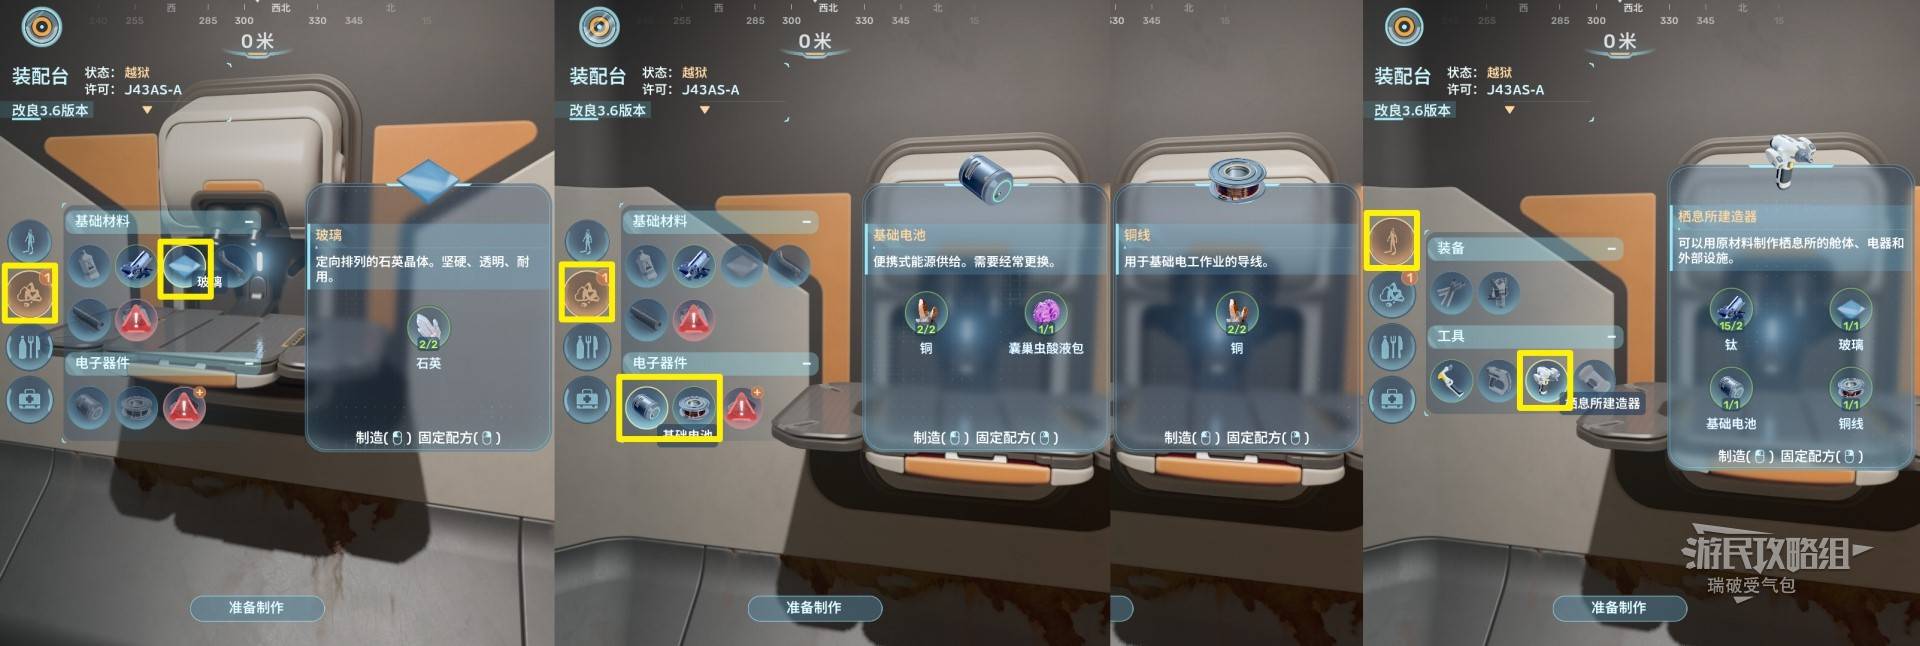
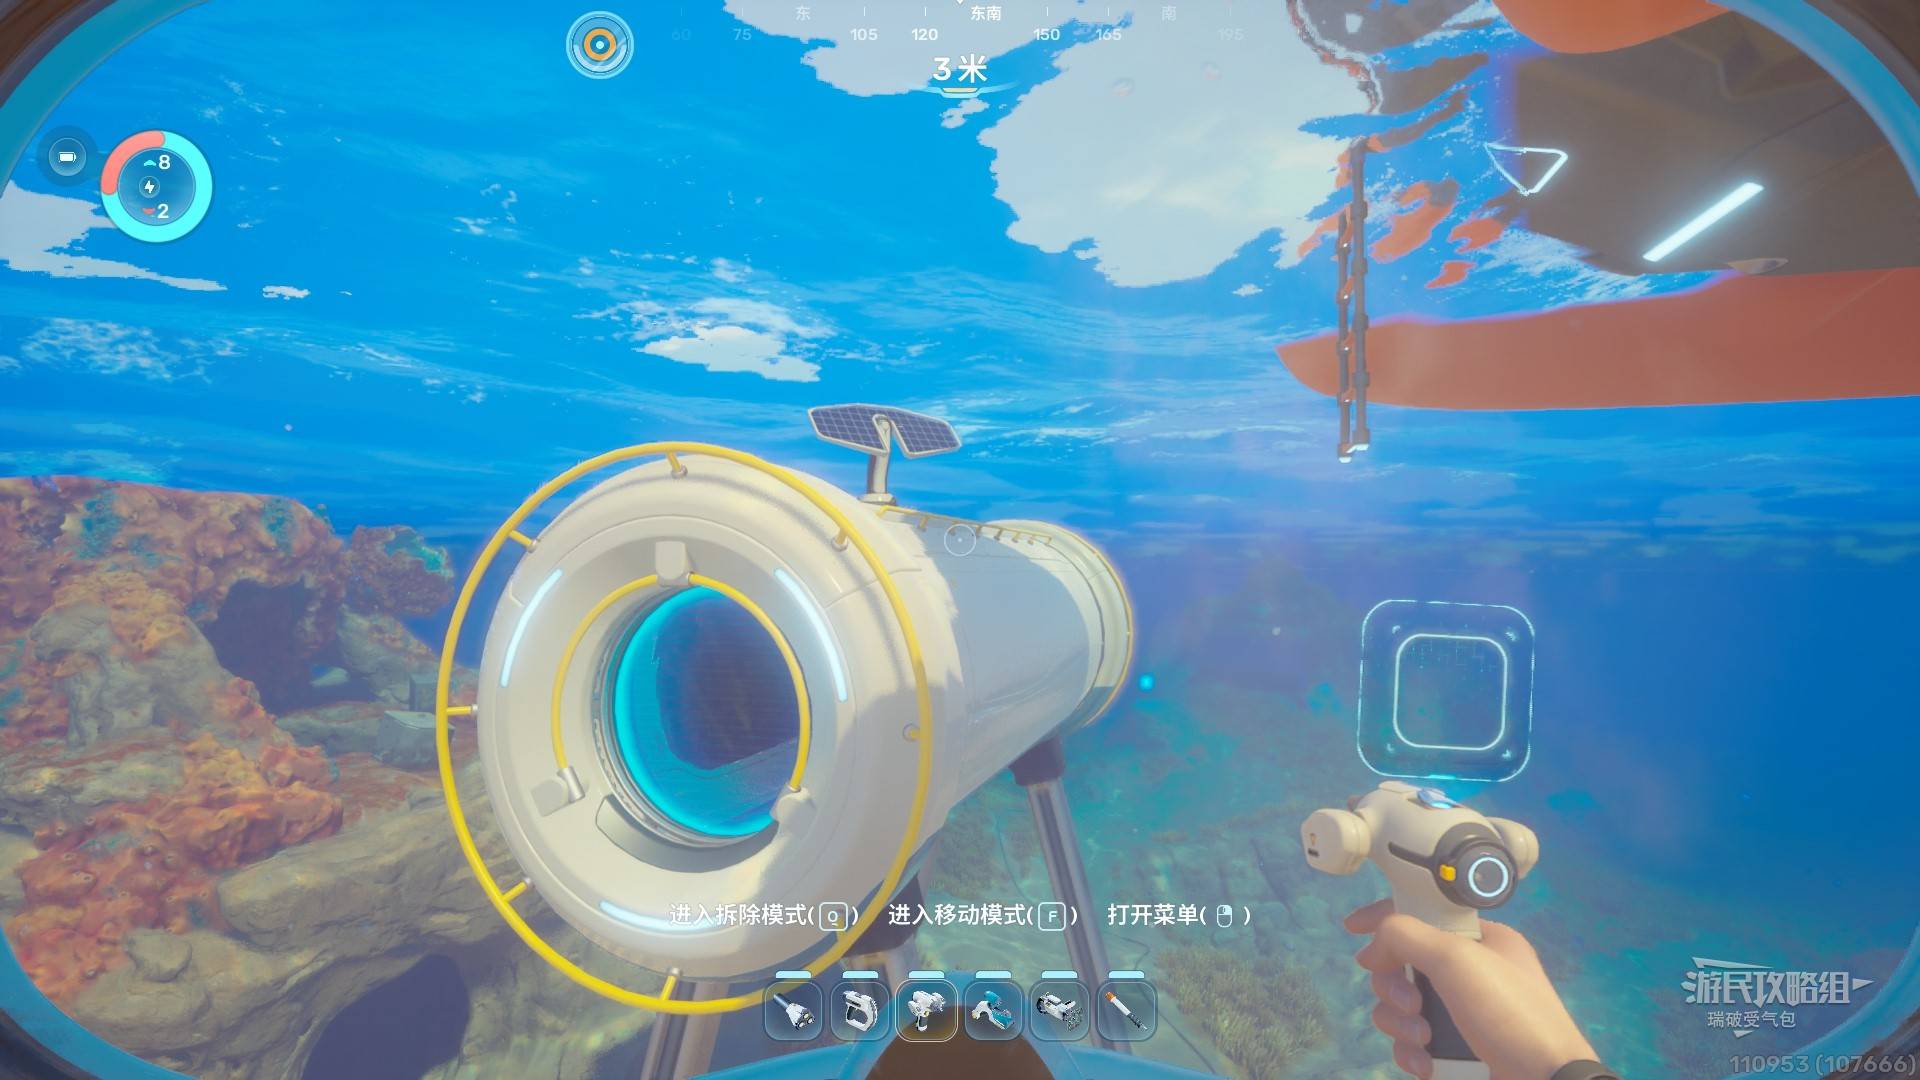
Use the Habitat Builder to place rooms on flat terrain. Add a hatch and Solar Panel for power (base automatically generates oxygen). Solar power varies with day/night. Expand with at least one extra room for large equipment.
Base Facilities & Food
Build a Fabricator inside your base for full crafting functionality — some items can only be made here.
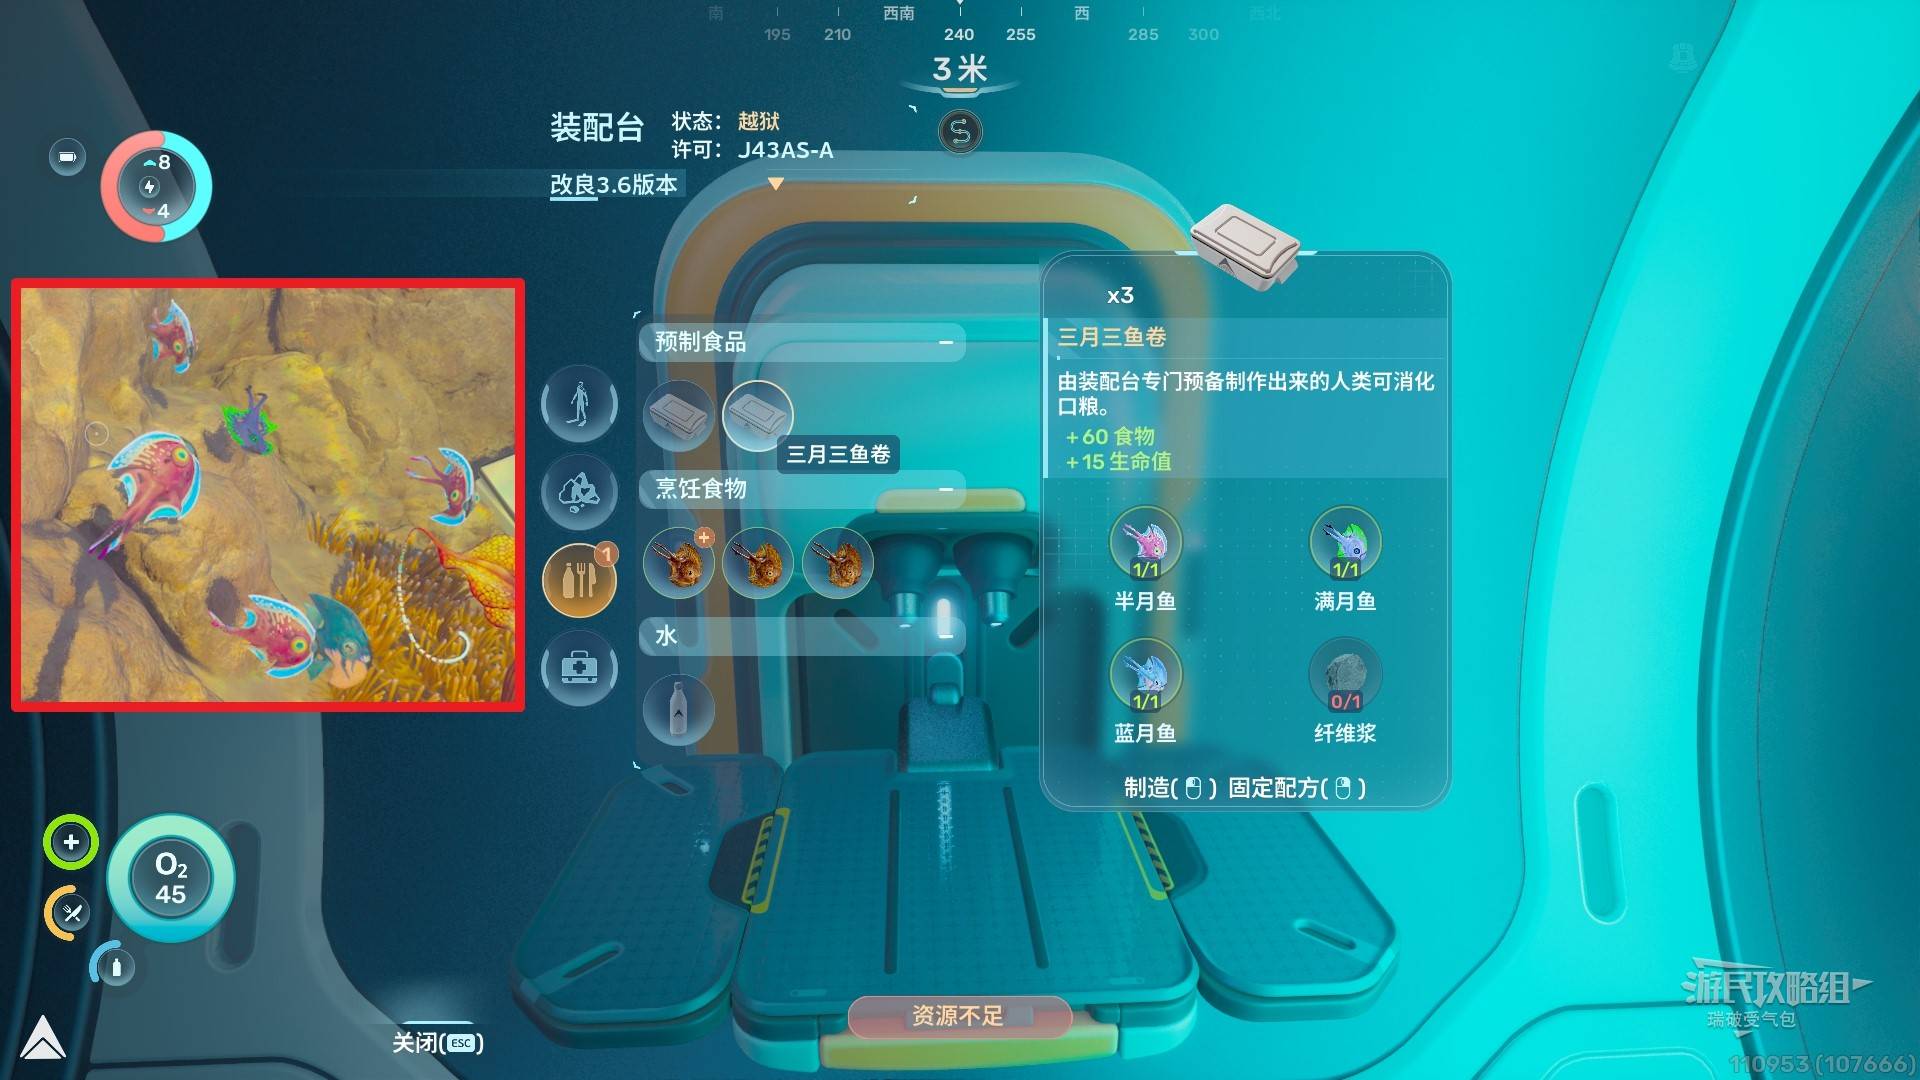
For early food, catch Half Moon Fish, Full Moon Fish, and Blue Moon Fish (common near lifepod) for Three Moon Fish Wrap recipe.
Cut whip sea plants near the lifepod with the Survival Tool to get Fiber Paste, then craft Fiber Mesh at the Fabricator.